If you haven’t checked out my sister site yet, please do so at CatLadyFitness.com – there you can find the health transformation story of Puppy the Cat, the popular Raw Cat Food Recipe (and highly-viewed video on YouTube), cat lady and dad tips, very stylish apparel and accessories for any cat lover in your life, and much more.
This year has been a crazy one for sure.
Not only have I been busy training my amazing online clients, meeting new ones during nutrition consultations, and growing my Cat Lady Fitness YouTube Channel; but I have published two more books, am currently working on another two, and am less than a month away from launching the True Health Trifecta Private Client Portal – which will offer over 200 exercise examples, ready-made workouts, and much more…
All of this while getting the amazing experience to house- and pet-sit around the world while finally learning fluent Spanish.

Calle Calzada at dusk in Granada, Nicaragua
This doesn’t even include exciting news about my FIRST book, The Holistic Fitness Starter Guide, and additional non-fitness related projects and creations that will come into light soon. (If you want to be up-to-date on the reg, I highly suggest following me on Instagram or liking the THT Facebook page.)
What can I say? I truly love being able to share my learning experiences and creative outlets with each and every one of you (and am obsessed with the productivity factor in doing so)!
SO, moving onto this post: a common question I’ve gotten over the years – ESPECIALLY from my female clients – is “why can’t I do even one chin-up? WHY are they so hard?“
In the quick video below I am going to show you some of the most effective exercises and exercise progressions towards Chin-ups and Pull-Ups that I personally used and have suggested to a number of clients over the years who can now also successfully do all kinds of chin-ups and pull-ups.
So what’s the difference in a Chinup or a Pullup? In order from least to most difficult:
Chin ups (reverse grip) Parallel Grip Pull-Ups (Narrow or Wide Grip)
Technically, this makes Chin-Ups the “easiest” BUT that certainly doesn’t mean they are easy… especially for someone who has never been able to do one before. Pull-ups isolate your Lats (aka: batwing muscles) making them more difficult to do, while Chin-Ups utilize the biceps more – which is why Chin-Ups of all kinds are my #1 suggestion and favorite personal exercise when it comes to building big, strong biceps.
So if you’ve been slaving away doing a million different versions of the bicep curl… whether they’re machine-assisted bicep exercises or the free weight variety… and you have been seeing little to no progress in those guns: STOP NOW and start doing these progressions.
What I will be going over and showing you today will help not only with building bicep strength and Chin-Up capability, but will help you activate and strengthen the right muscles to progress to full Pull-Ups, too.
LET’S START WITH SOME IMPORTANT FACTORS IN HOW TO PROGRESS WITH ANY EXERCISE:
- Activating the correct muscles. Especially if you are new to working out or exercise in general, this is always an important step to make sure you’re training your body to progress in the best way AND avoid injury. Body weight exercises, static holds, and slow/controlled movement activities like yoga or Tai Chi are great ways to get started, especially if you come from a super sedentary place. This also helps you build the mind-muscle connection which is a key factor in strength progression and physical and mental control.
- Strengthening these said muscles. Women actually tend to build strength a little quicker than men, but we also have it plateau more quickly. This is solely due to hormones seeing as women cannot naturally, comparatively put on as much muscle mass as men in general. Men, on the other hand, may see their lifts progress at a slower pace but can far surpass the weight that women can lift. So even though any capable female can and will progress in their Chin-ups by following these tips, that doesn’t mean you will be able to do it with an additional 25 or 50 pounds in plates hanging from your waist.
- CONSISTENCY IS KEY. PATIENCE PATIENCE PATIENCE – not only in your overall progress, but when you are completing these exercises… don’t rush through them. Practice focusing on the mind muscle connection and being present in what you are ACTUALLY doing. Same thing goes for overall progress – as long as you focus on the daily or whatever routine HABITS and consistent practices that ALIGN with your goal, in this case – getting better at Chin-ups or simply being able to do one at all – it will happen. It’s about trusting the process and focusing on the most PRESENT steps you can take to get there.
- The less you weigh, the easier it will be. It’s simple physics. The less weight you have to lift, whether it’s groceries or books (or your body in this case), the easier it’s going to be… of course, considering you have no physical injuries making you less capable. This is true in general whether your body is composed of muscle OR fat – but remember, the more MUSCLE mass you have, the stronger you will be and the more weight you will be able to lift. So that ideal “healthy” standard of having low body fat and moderate muscle still stands true.
FUN FACT:
Chin-Ups are actually a go-to active tool I use to gauge my weight. I have a 10 pound standard comfy weight range (if 10 pounds seems generous for some of you, I’m also very tall)! If I can do 5 or more slow and controlled chin-ups, I know I’m at a very lean low-end of this range – if not a pound or two below it. If I can do 1 or 2 chin-ups, I know I’m within a certain 3-5 pounds. If I can’t even do 1 – and this does happen – I’m either at the higher end of my comfy weight range AND/OR I haven’t been able to do my regular daily routine for over two weeks, usually due to traveling and not having access to a pull-up bar.
If scales aren’t your thing, this is a great way to measure your progress and keep things in check along with paying attention to the fit of your clothing. I talk more about the benefit of NOT weight yourself in this blog post.
SO, WHAT IS INVOLVED WHEN DOING A CHIN-UP?
- Grip Strength (all exercises will involve grip and I am showing one of my favorite grip strength exercises in this video that is very effective – Monkey Hangs. However, if you are interested in more grip-specific exercises, let me know in the comments below the video!)
- Mobility (full range of motion is super important to activate and strengthen the necessary muscles, ligaments, and tendons for any exercise. Unless an exercise is designated as a semi-repetition exercise, always take your time in completing the full range of extension and flexion to get the most benefit.)
- Slow and Controlled movement (NOT the typical momentum-based “kipping” style you see in CrossFit type activities) – slow and controlled movements build adequate strength, are better for joints and tendons, and are safer to avoid any injury which should always be a priority.
Now, let’s see what these progression exercises look like! Check out this video:
(Exercise Examples start at 2:20)
Exercises are shown in out-of-the-norm circumstances (using a bench press station and the back of a leg press)… Proof that there is never an excuse, only a reason to get creative! You can also use the underside of step-stairs, any stable bar at a proper height, the underside of some treadmills, and a stable/heavy table.
That said, the best option if available is a Smith Machine as the bar can be adjusted to multiple heights for multiple strength levels. A squat rack is a comparable option in most cases.
EXERCISES IN ORDER SHOWN:
- Flat Horizontal Rows (do not press through legs, focus on using arms and back only – while keeping your body straight. This is my favorite and VERY effective along with #10 and #12!)
- Reverse Grip Short-Range Static Hold with Slow Negative (great activation exercise to practice before attempting Full Chin-Up Static Holds)
- Beginner Seated Horizontal Row (complete SLOWLY and focus on muscles in arms and back, keeping good posture and holding when chest is at bar)
- Intermediate Seated Horizontal Row (a little bit more of a decline in the positioning increases the difficulty)
- Reserve Grip, Seated Slow Negatives (partial rep – if done properly, should really be felt in the biceps and front delts)
- Shallow Horizontal Rows (begin with more vertical positioning until you can comfortable complete 20 slow, controlled repetitions. Then move onto…)
- Intermediate Horizontal Rows (once you can complete 20 slow, controlled repetitions of this comfortably with good form, move onto…)
- Horizontal Rows (the bar is at somewhat of an awkward height and should be closer to the ground, but hitting muscles from new angles like this can also benefit new activation!)
- Reverse Grip Standing Rows (a different grip helps to activate different muscles. Just make sure the bar is at an appropriate height to get a comfortable, full range of motion)
- Monkey hangs (shown in wide overhand grip – thumbs can be over the bar or wrapped around. Hold on and hang for as long as possible – making sure that your lats are engaged and there is no swinging. If you look like your loose and shrugging, your lats are NOT engaged properly!)
- Full Chin-Up Static Holds (step or jump up into position – you want all your strength to go into holding, not pulling. Make sure your elbows are locked down and lats/mid-back are engaged. Avoid any swinging and hold as long as possible).
- Slow Negatives from Chin-Up Hold (again, step or jump into position – strength should be kept for the negative portion, not used for any active pull-up portion. Aim for a 10-second drop from the hold to full range straight arm, completing the movement evenly with no jerking or uneven demounting speed. A helpful tip is to aim for halfway – or upper arm parallel to the ground – at 5 seconds. This, #11 and #8, are especially helpful and effective in increasing Chin-Up Strength!)
If you want more PERSONALIZED coaching or insight, you can choose the best option for you here to schedule a Skype, Google Hangouts, or WhatsApp session: ONLINE FITNESS & NUTRITION COACHING
That all said, I hope this post and video were helpful for you in your Chin-Up journey! Try some of these exercises out whether you want to get your FIRST Chin-Up or simply want to strengthen and condition the right muscle groups in order to do more. And of course, remember to SUBSCRIBE to Cat Lady Fitness on YouTube for weekly videos!
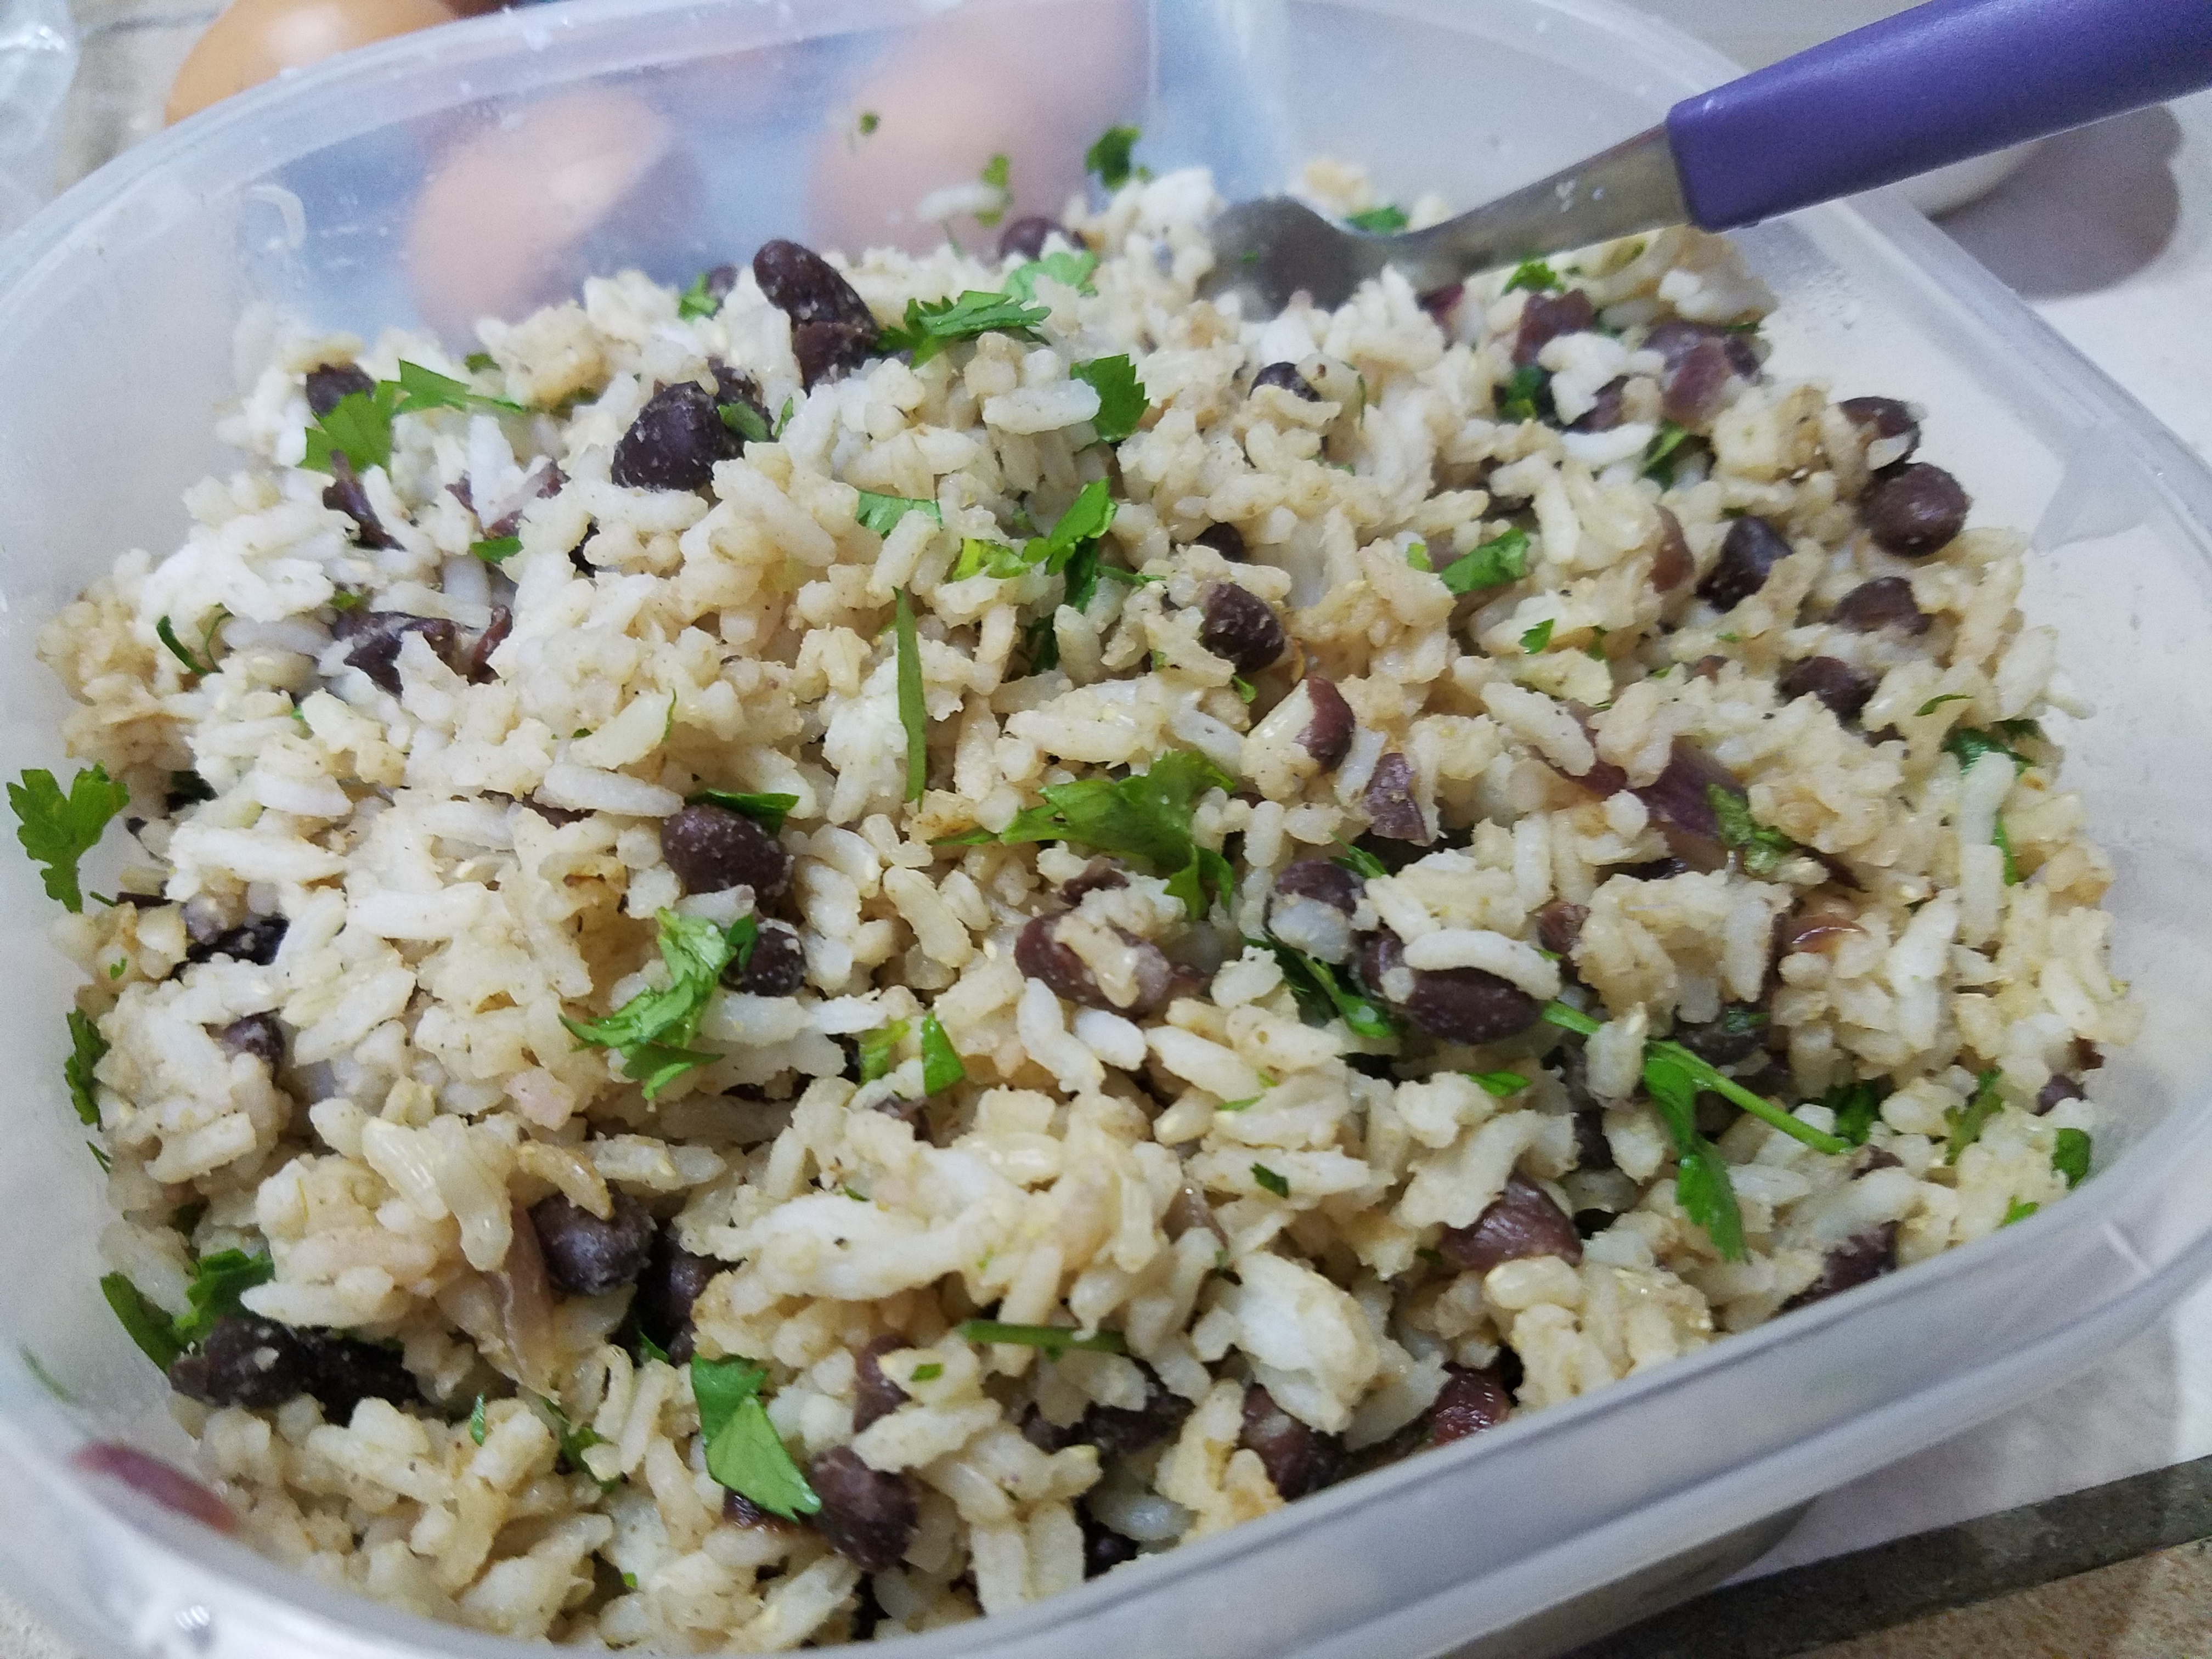
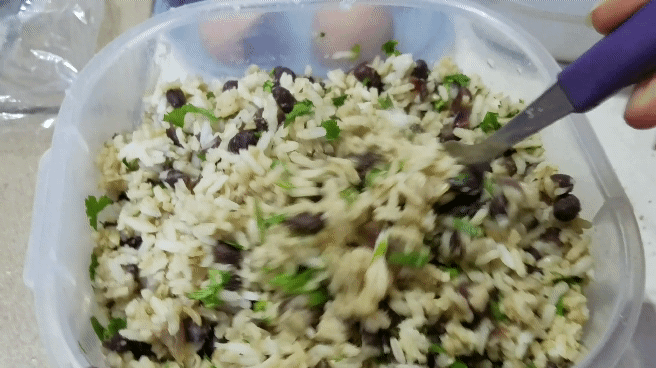
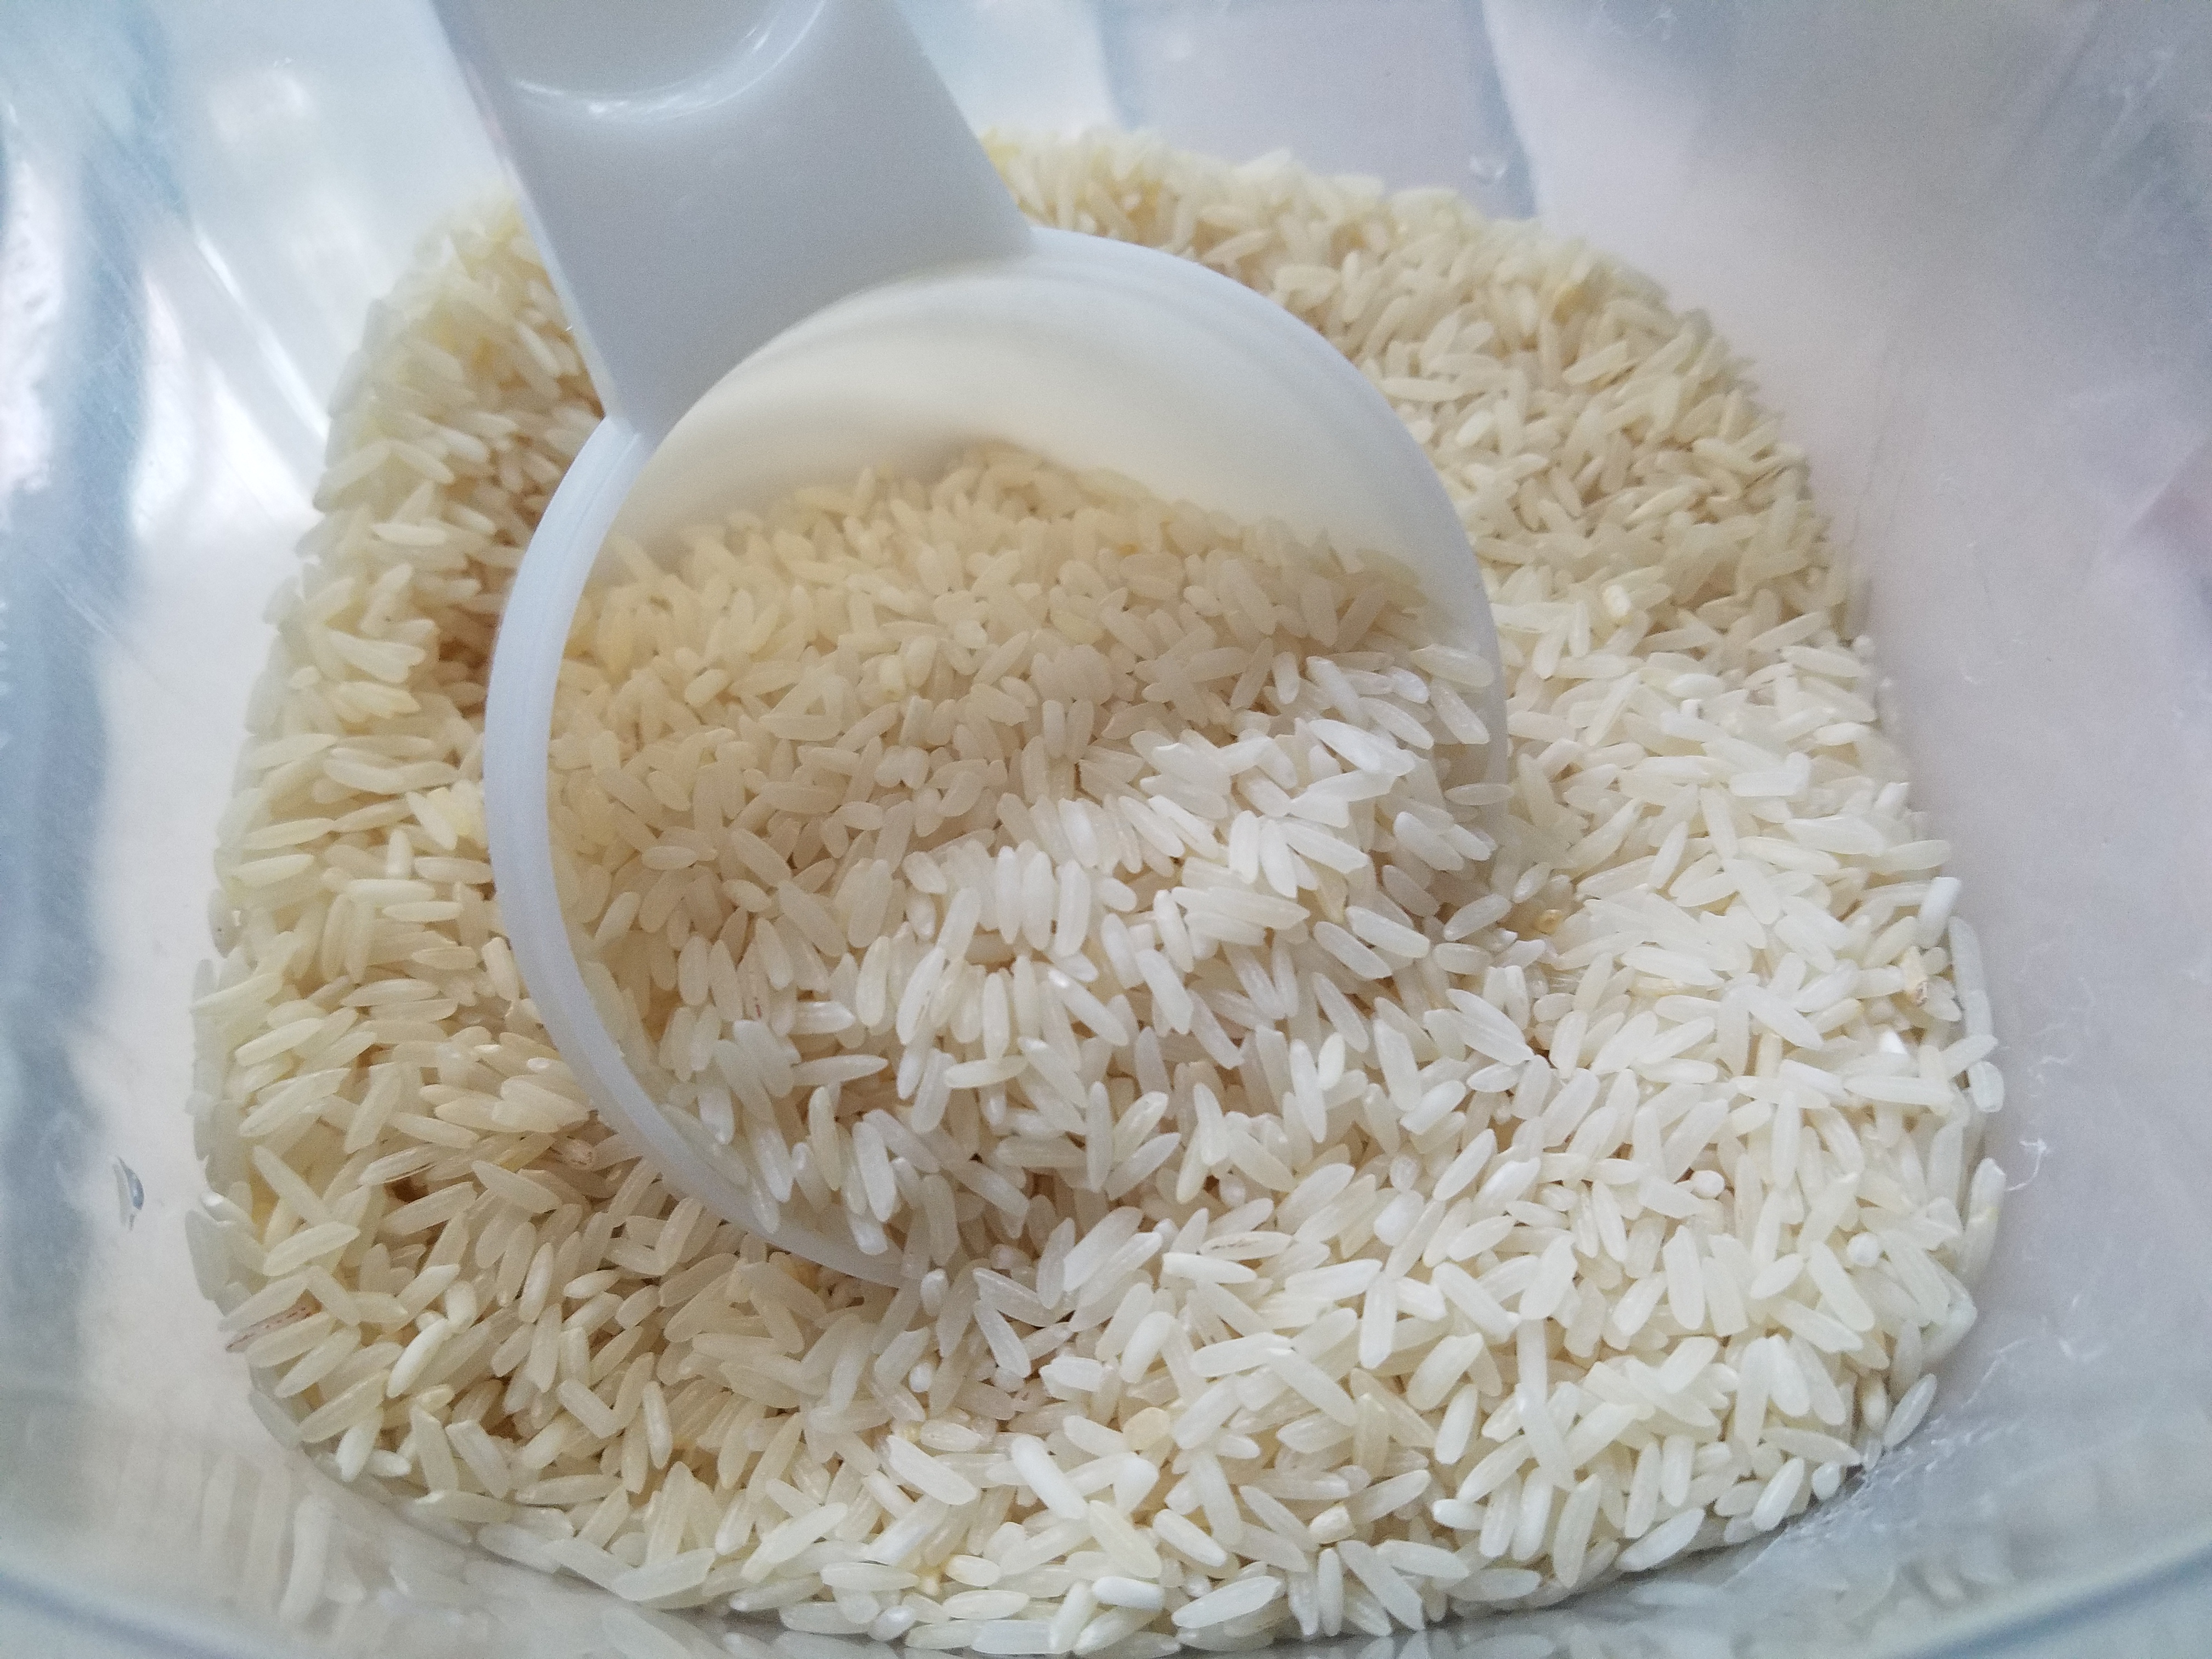 Arroz.
 Y frijoles.
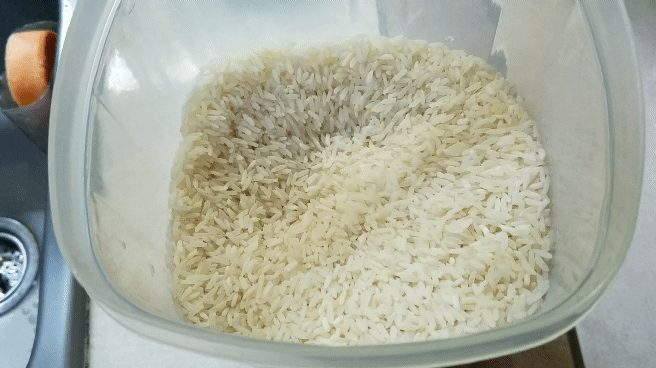
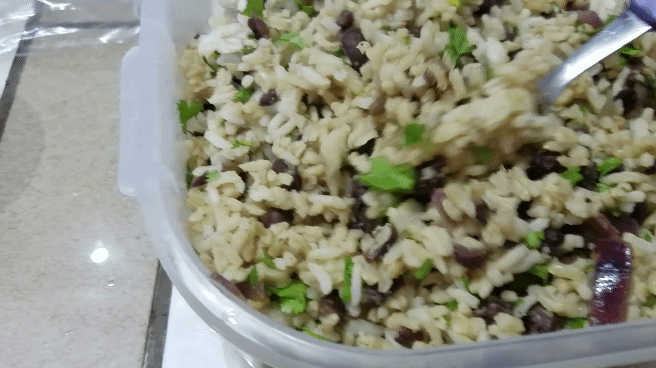 Mmmmmmmmmmmmmm yas.