Healing Magic Panda Soup – Delicious & Satisfying Hug in a Bowl (RECIPE)

*This recipe is featured as a BONUS RECIPE in The Grocery Store Tour Guide & Nutritional Workbook, available HERE

Are you a soup person? Me neither. Or, at least I wasn’t before coming up with this amazingly magical and ridiculously simple recipe this a few winter ago.

20140124_185159

There is something so wonderful, comforting, filling, and peaceful about this soup. It is the perfect amount of sweet and savory, not too broth-y with a touch of bite, and completely enjoyable regardless to which diet or lifestyle you are following (unless you are allergic to any of the minimal ingredients, of course).

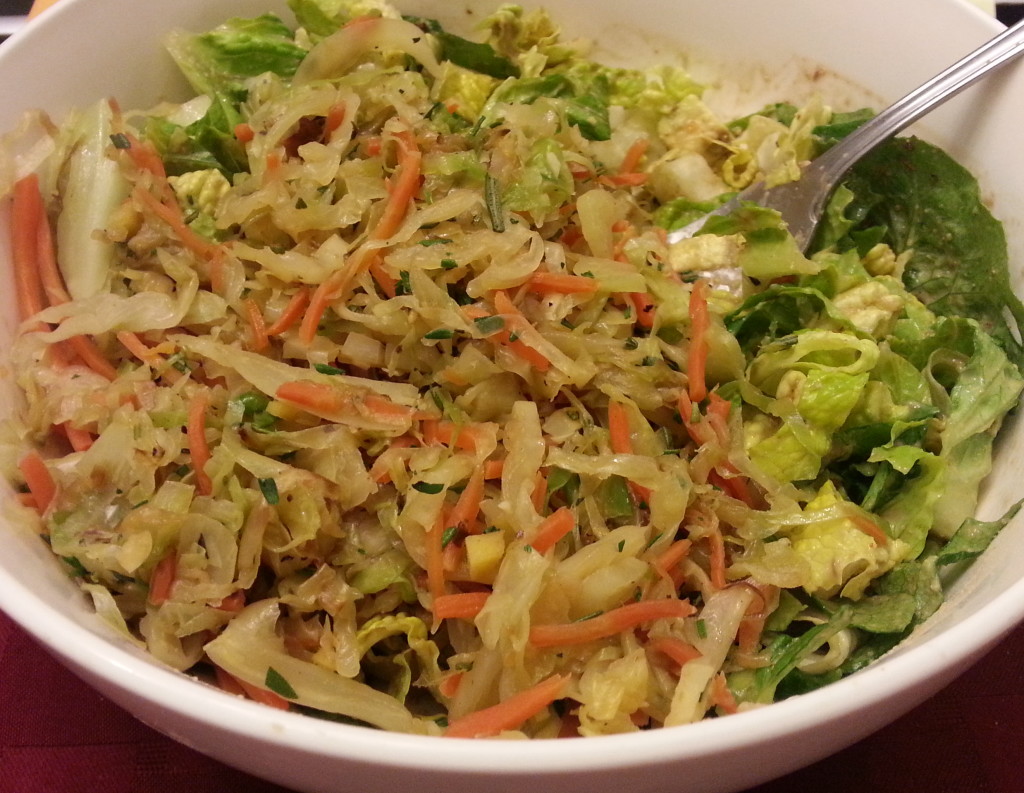
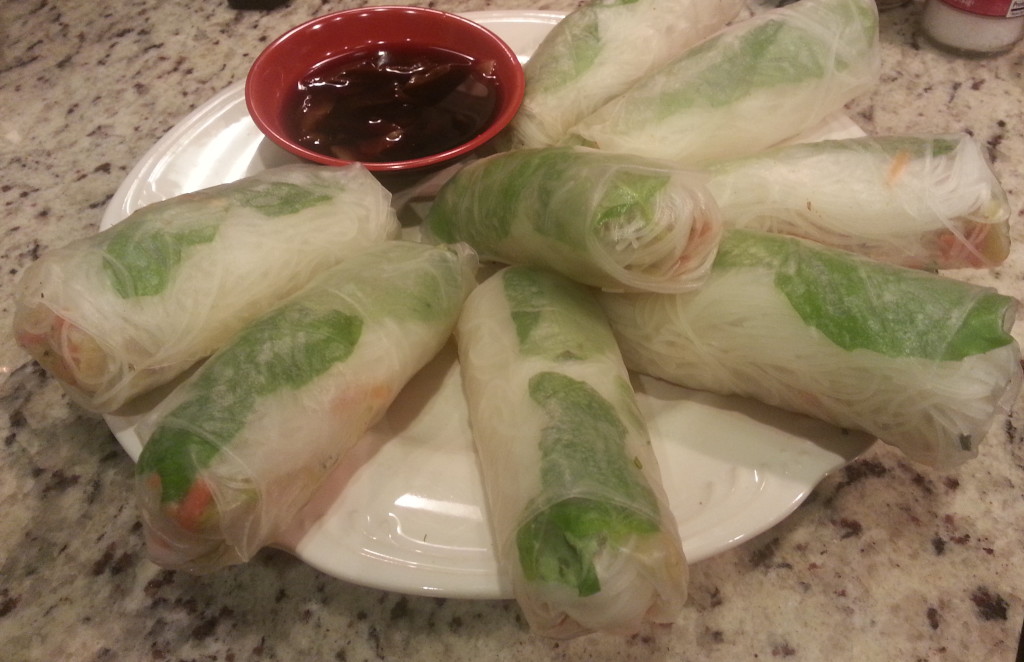
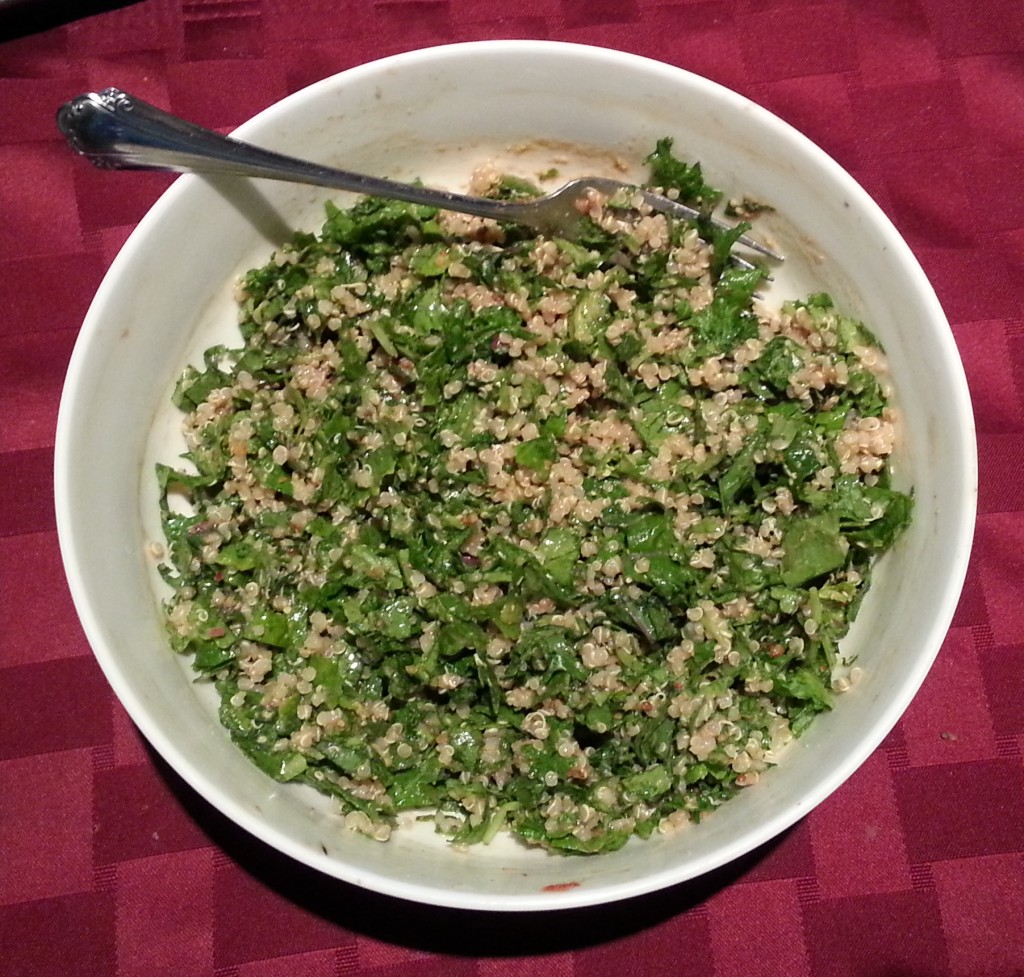
It proves to be the perfect side dish- complementing any salad, sandwich, main course, crusty bread, breakfast, lunch, or dinner. It can even suffice as its own full-meal show. Additionally, it can act an amazing base recipe for whatever additions your heart desires; from greens to corn, veggies to grains, and meat to tofu.

Whether you are Vegan, Vegetarian, Paleo, counting points, raw ‘til 4, or have never particularly liked soup before, I am confident that you will love this Sweet Panda Soup as much my family, friends, and I do. Winter has long past as we now experience scorching summer days, yet this is still a staple in my kitchen for winding down in the evenings (and is surprisingly delicious cold, too)!

Not to mention, Healing Magic Panda Soup packs a punch in maintaining or improving your health by providing nutrient-rich hydration, anti-inflammatory compounds, natural fiber, and vitamin B-12. If you are hypoglycemic, it may even help to balance blood sugar levels.

Another bonus that others have found and that I can vouch for myself? It not only fills you up, but can also help keep any late-night cravings at bay.

With no further ado, here is my recipe for Healing Magic Panda Soup.

 20140124_185244

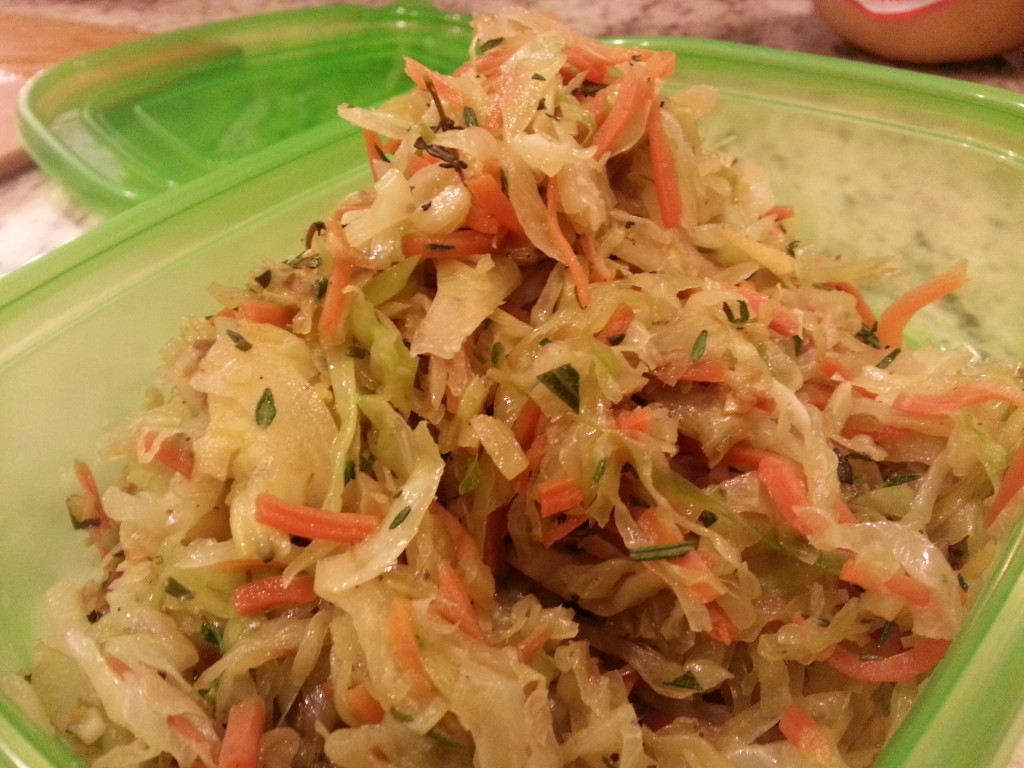
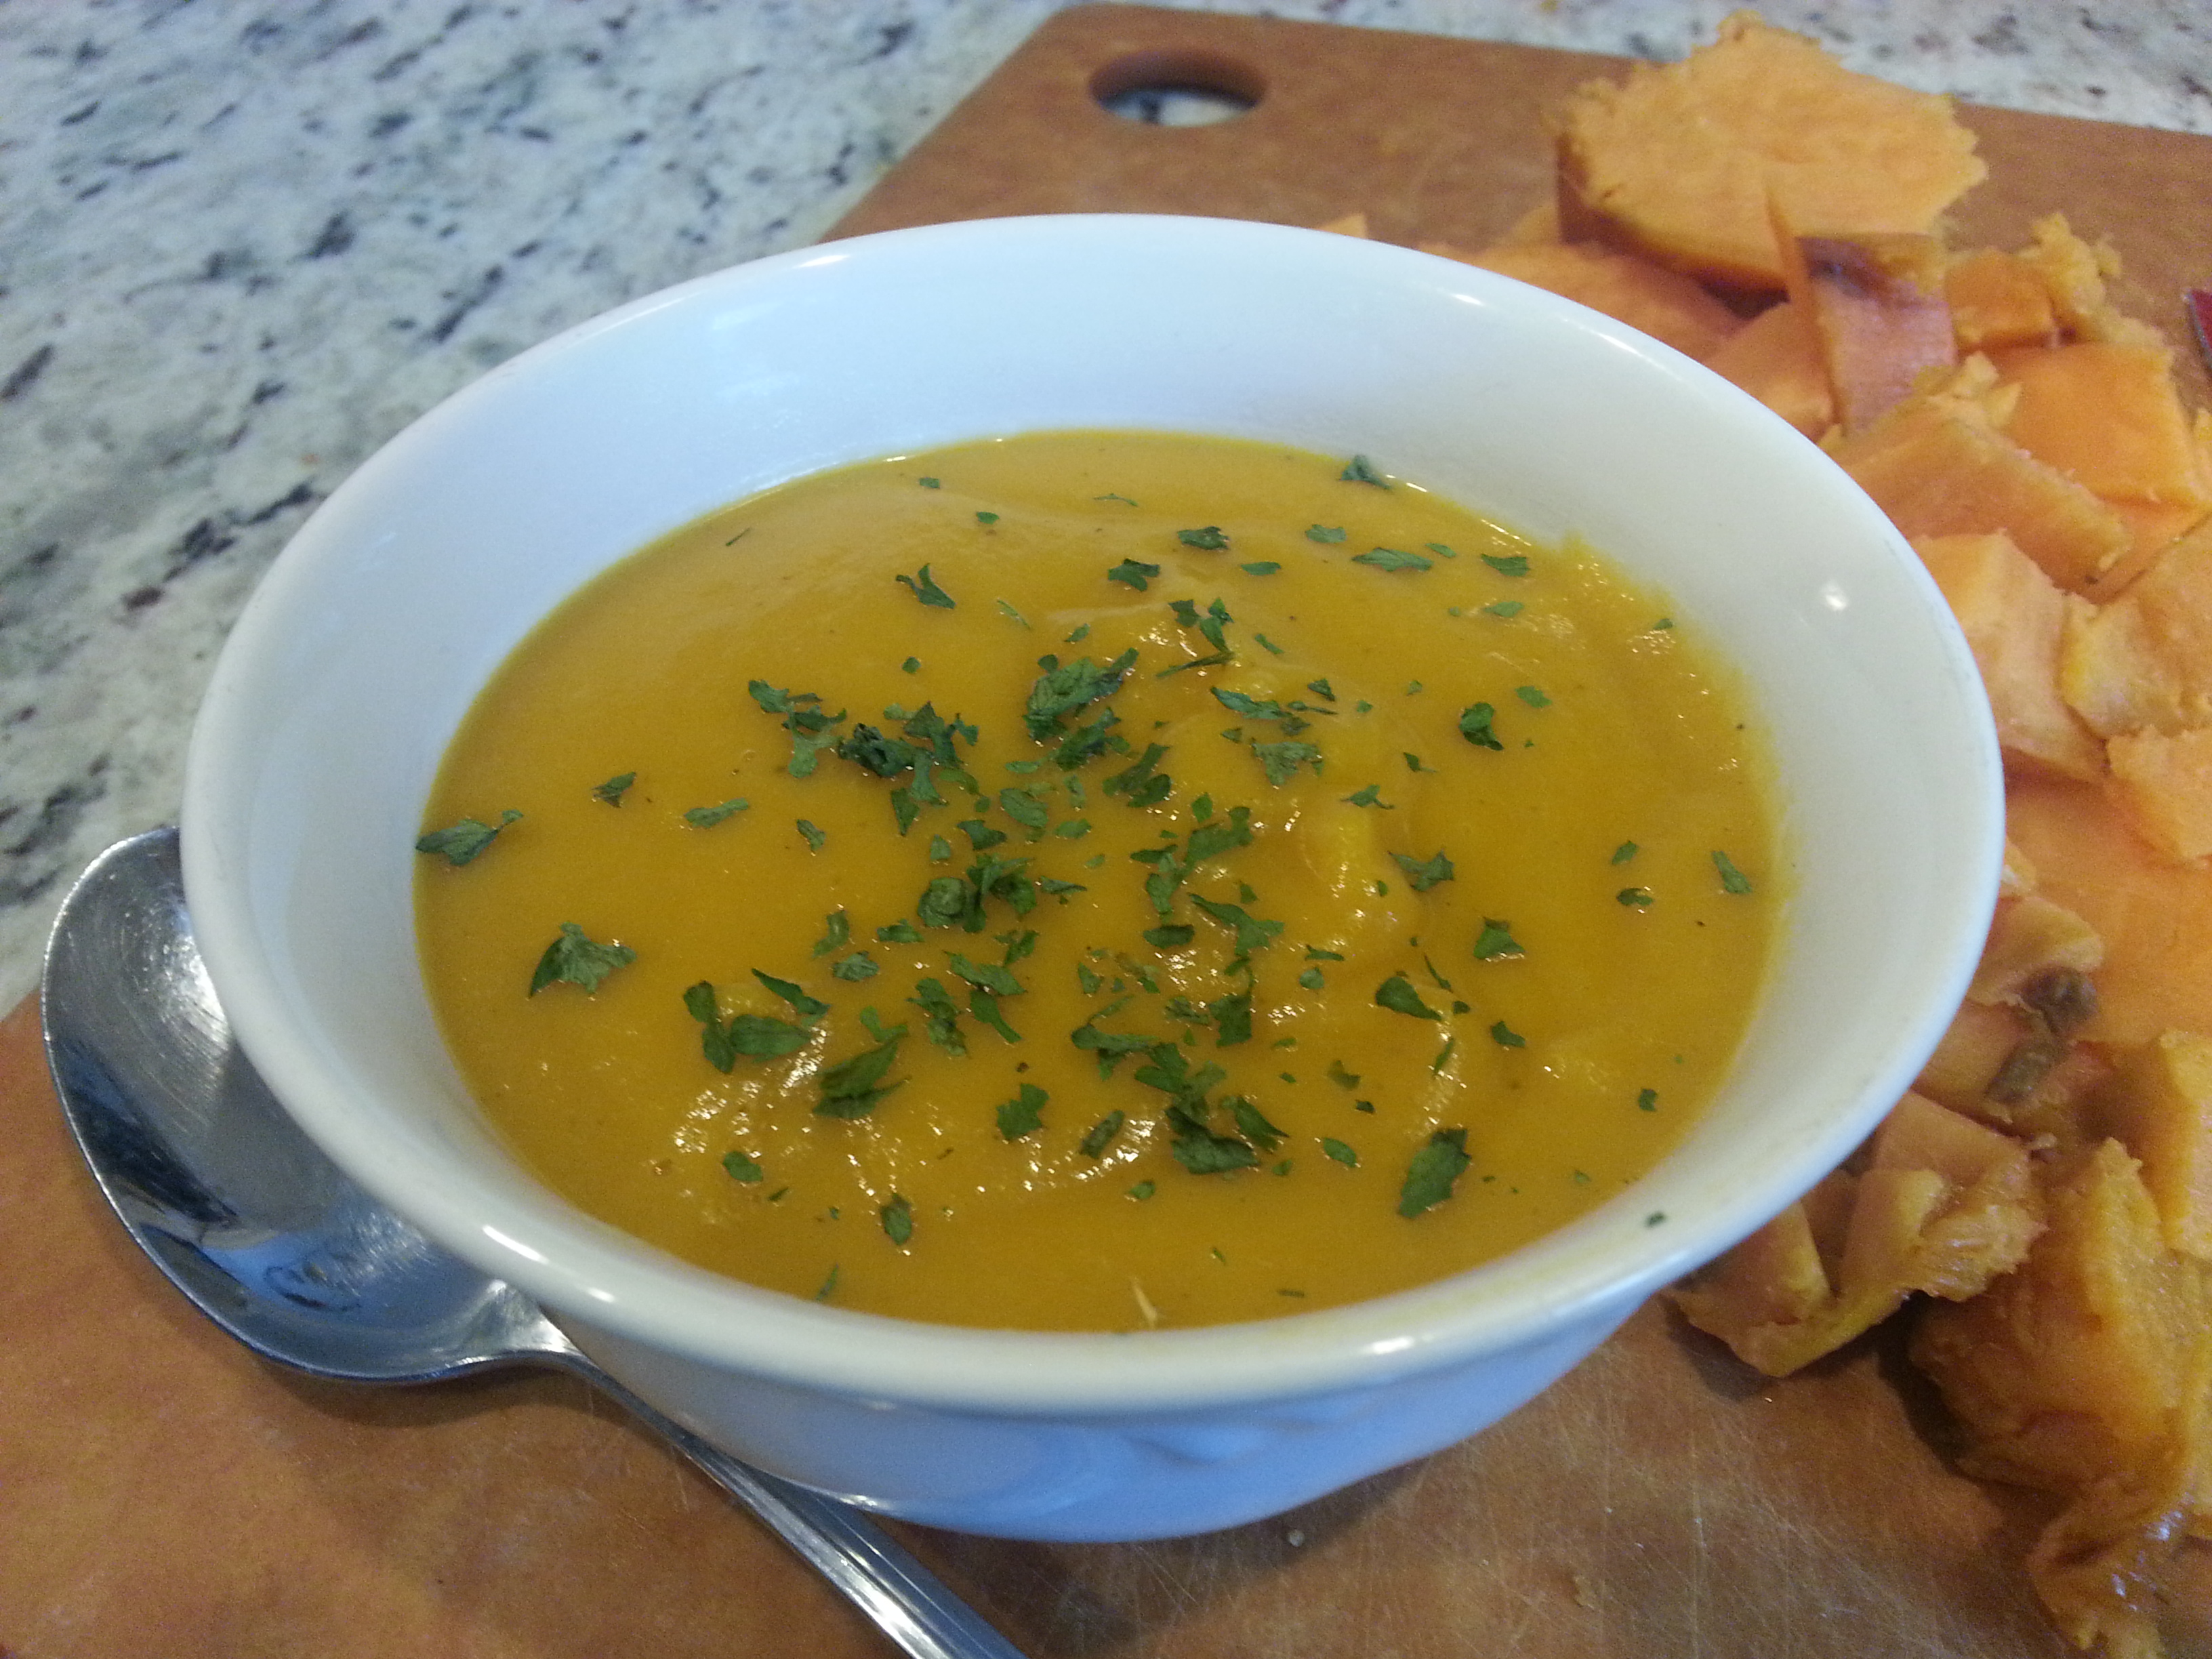
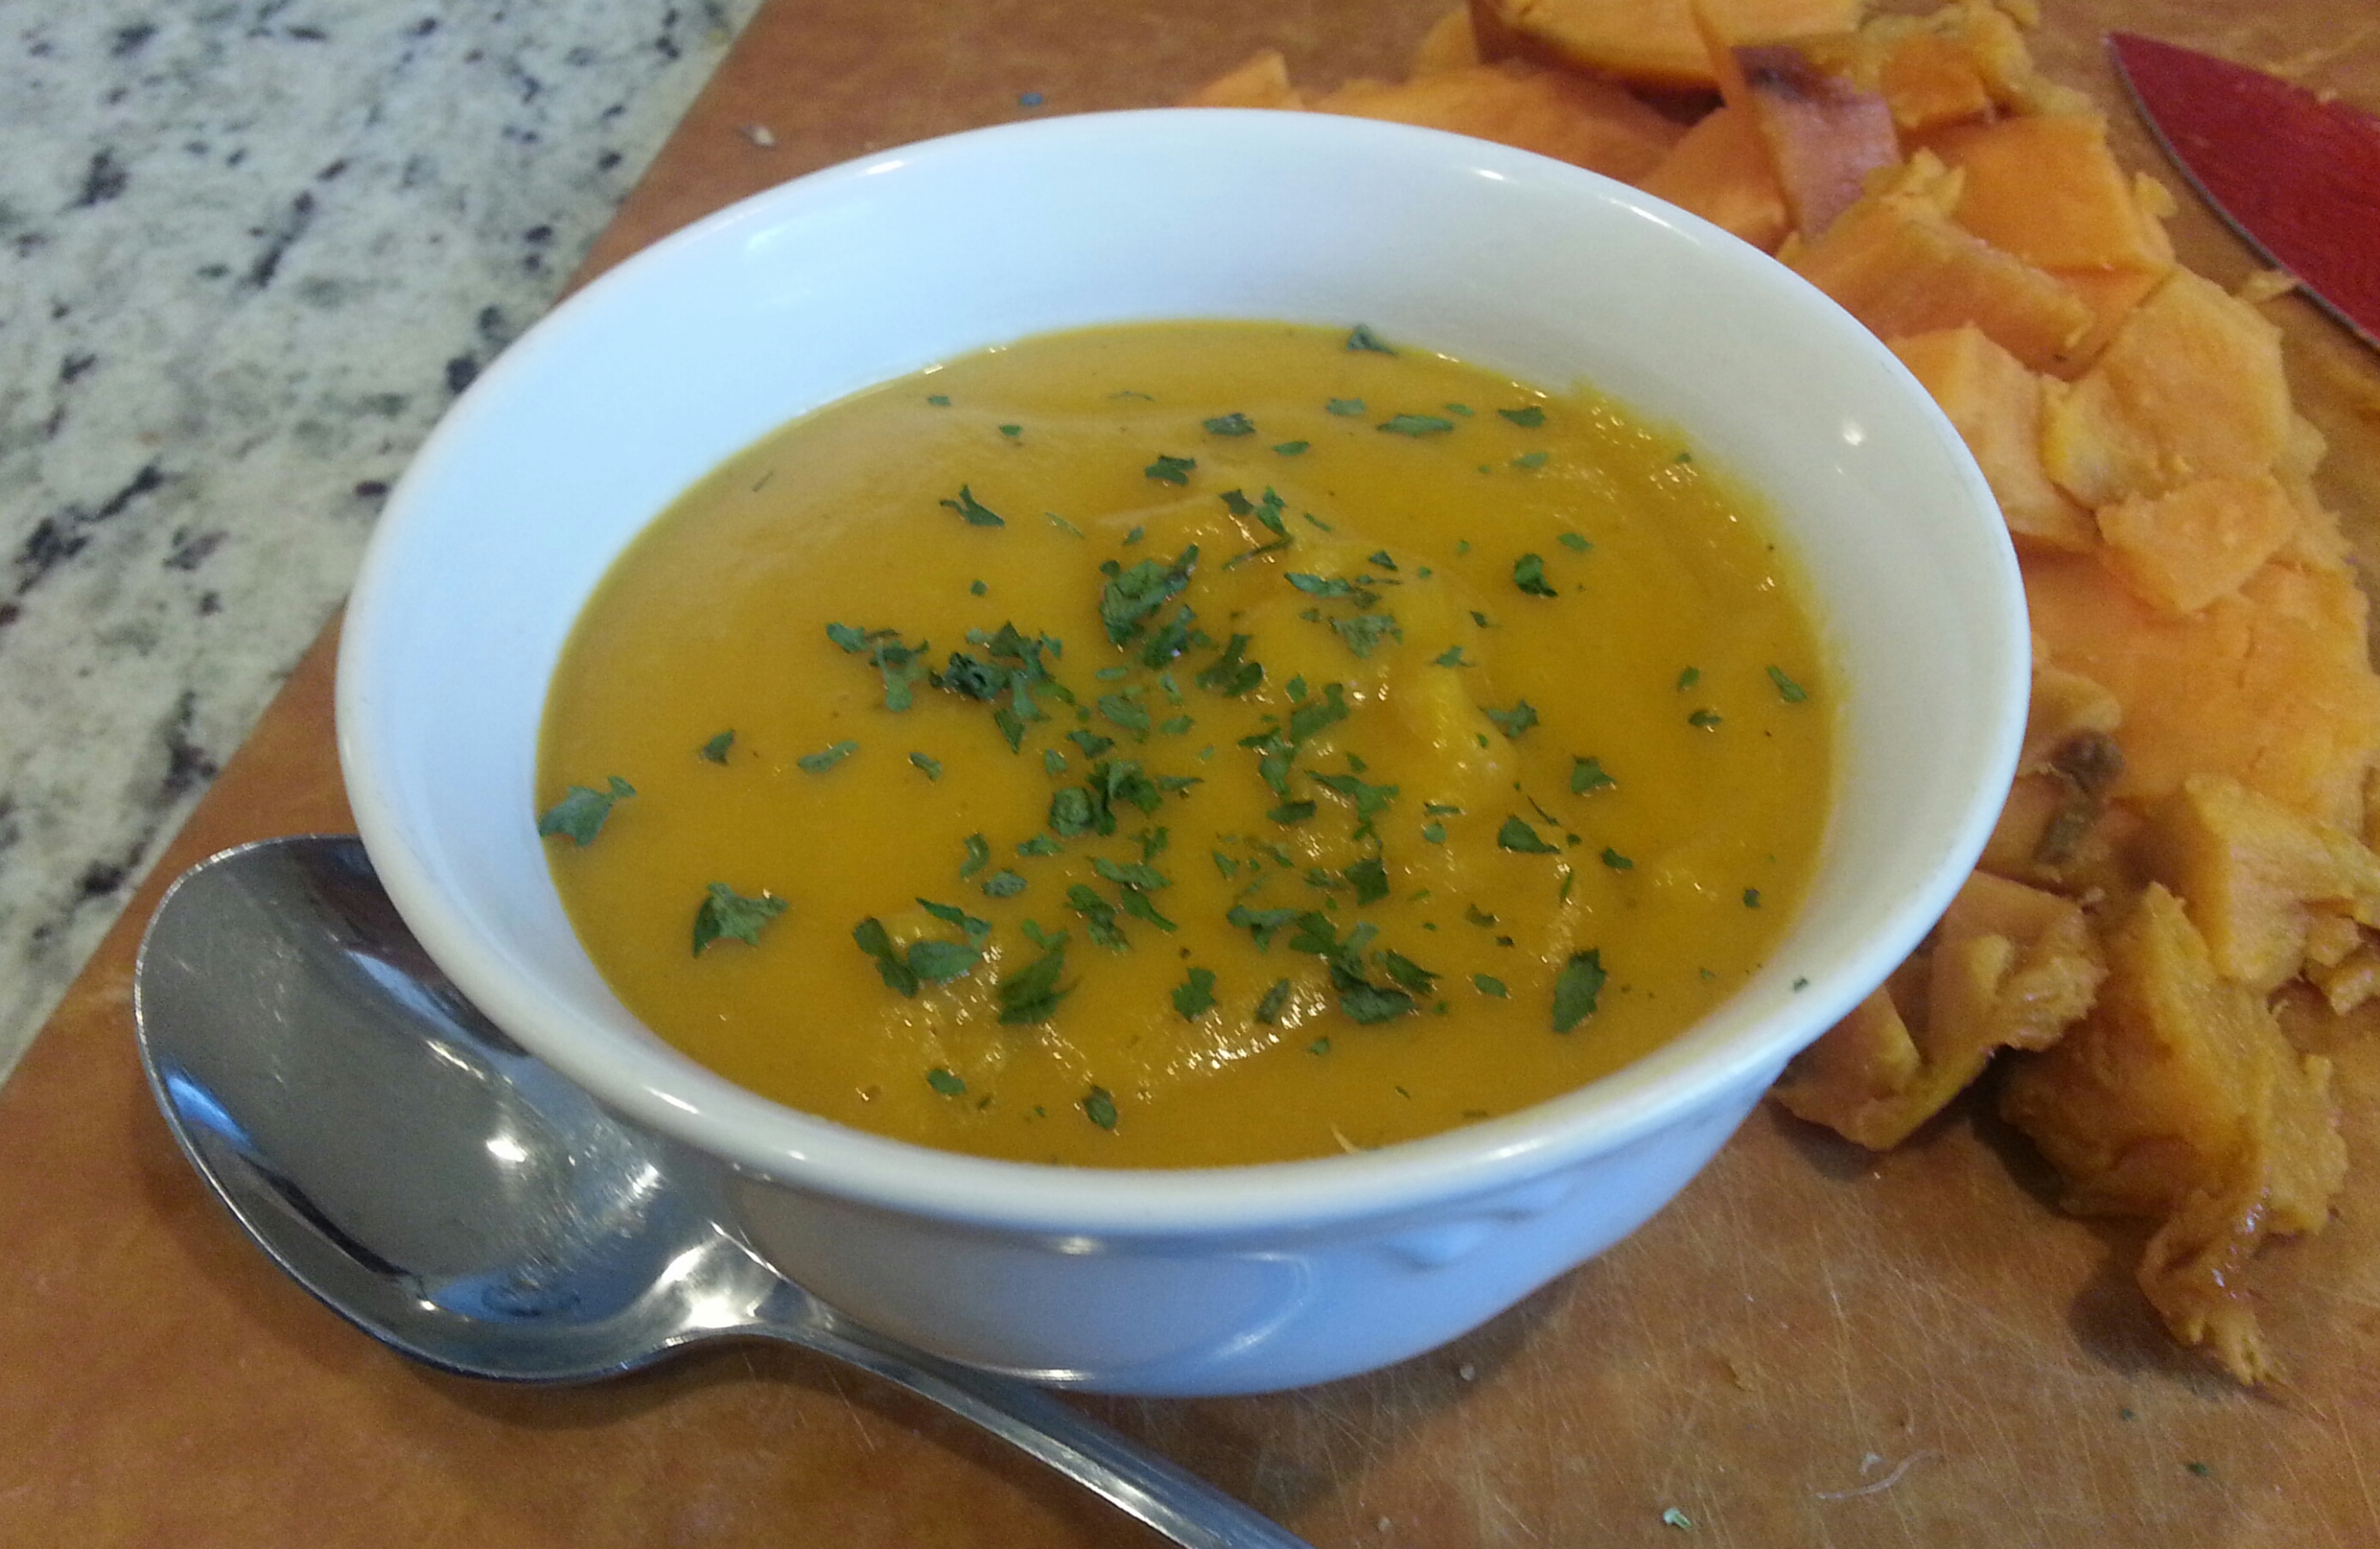
HEALING MAGIC PANDA SOUP

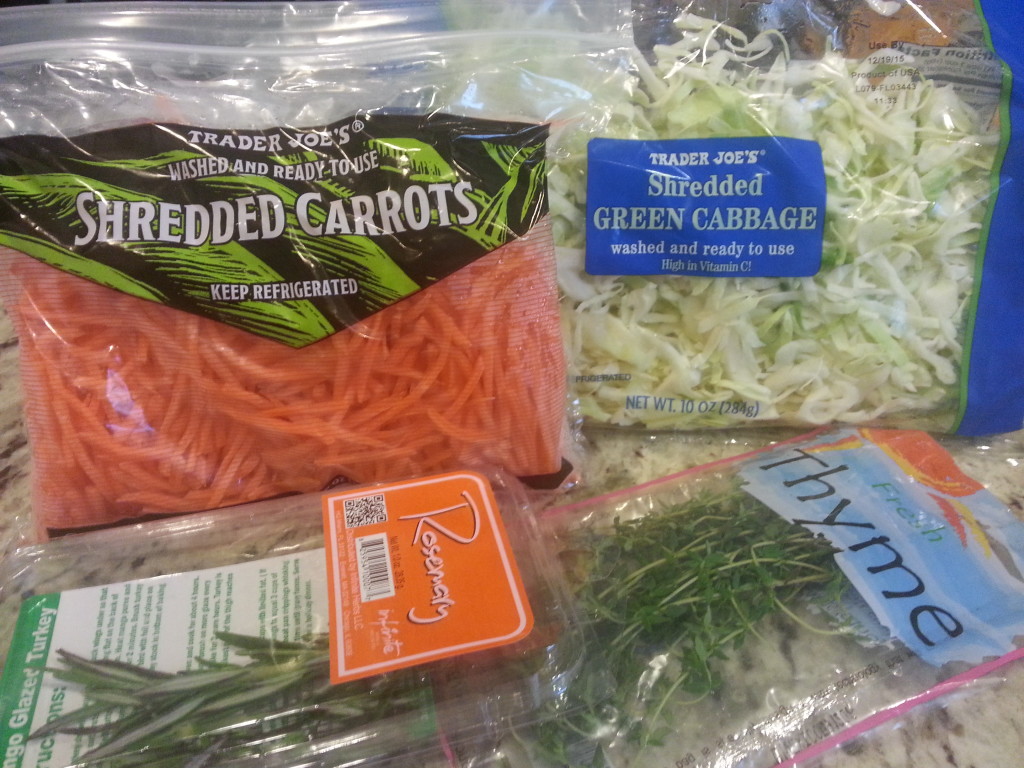
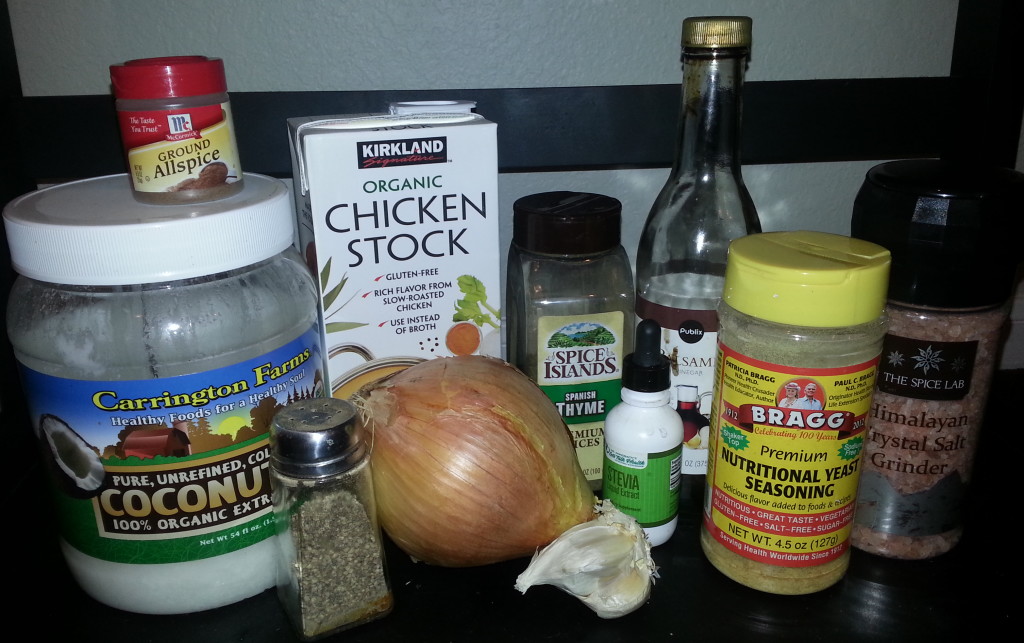
Single-Serving Ingredients *use organic, if possible

1 (medium to large) Sweet Vidalia Onion, chopped

1-2 cloves of garlic, minced

1 tsp. Extra Virgin Coconut Oil

1 Tbsp. Balsamic Vinegar

1 ½ Cups (or about two-thirds of your favorite bowl-full) of Organic, Low-Sodium Vegetable or Chicken Stock

A large pinch of Freshly Ground Sea Salt (I use Pink Himalayan)

A large pinch of Freshly Ground Black Pepper

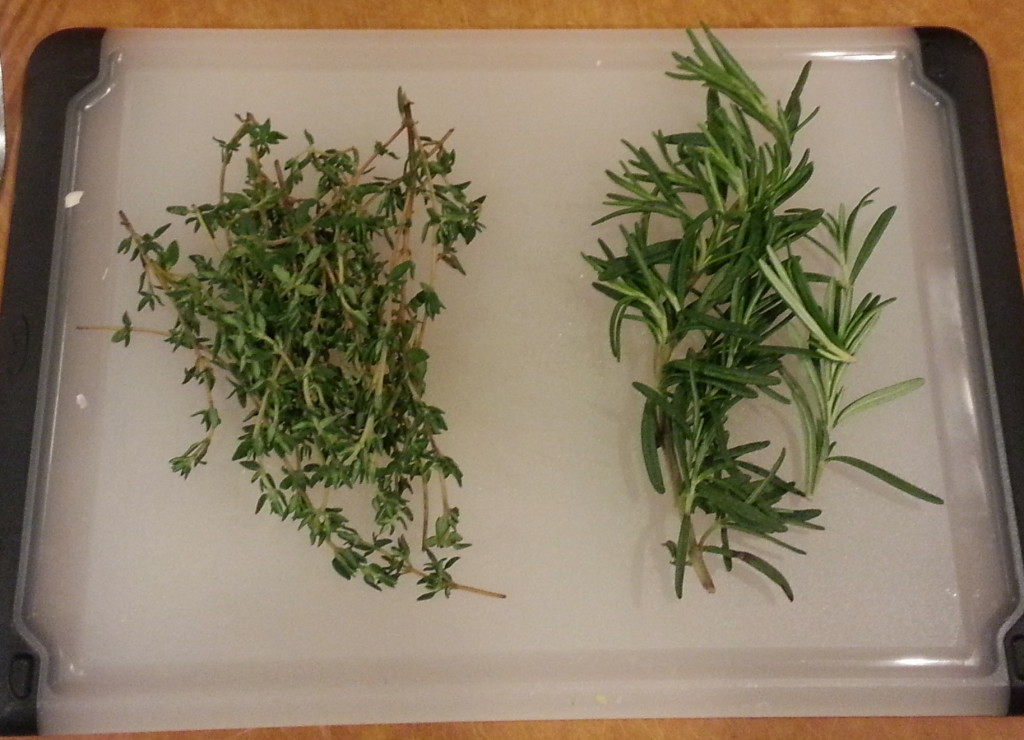
2 tsp. Dried Thyme (or 1 tsp. fresh Thyme leaves, chopped)

¼ tsp. (or a modest sprinkle) All Spice

1 heaping tsp. sugar of choice (coconut, organic cane, honey) or 2 drops of liquid stevia

Optional, but recommended: 1 Tbsp. Nutritional Yeast flakes

Optional: 1 tsp. Dried (or chopped fresh) Parsley

Directions (Photos Below CROCK-POT VERSION)

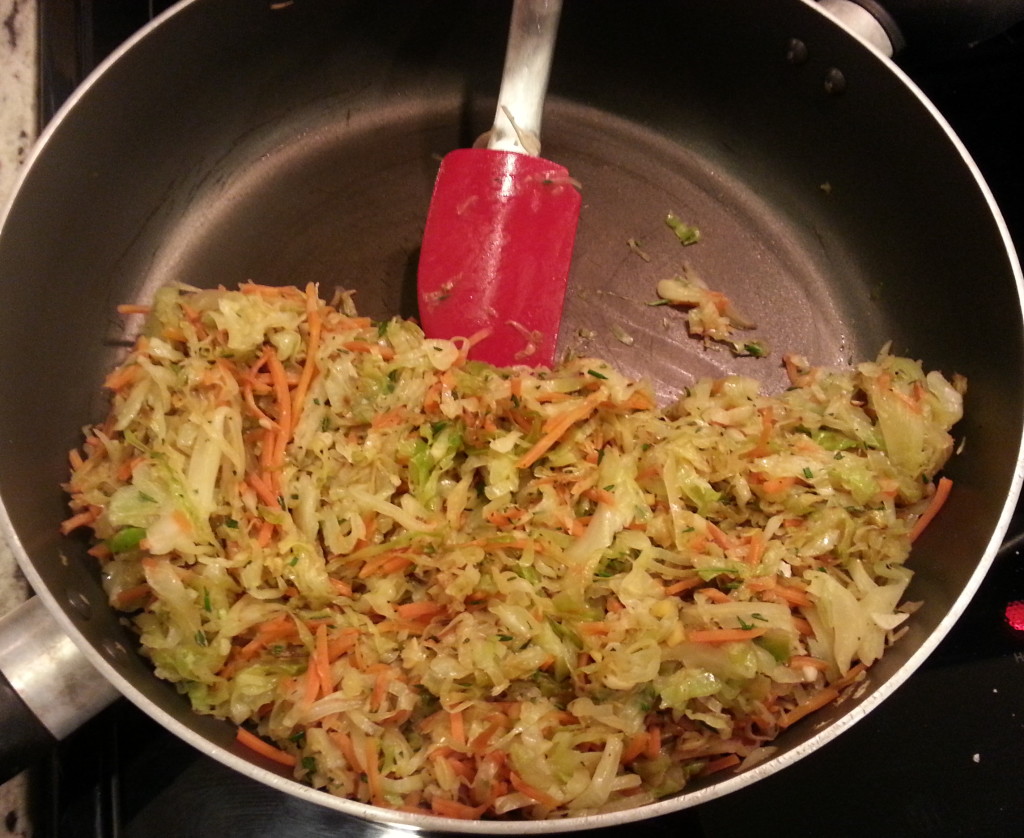
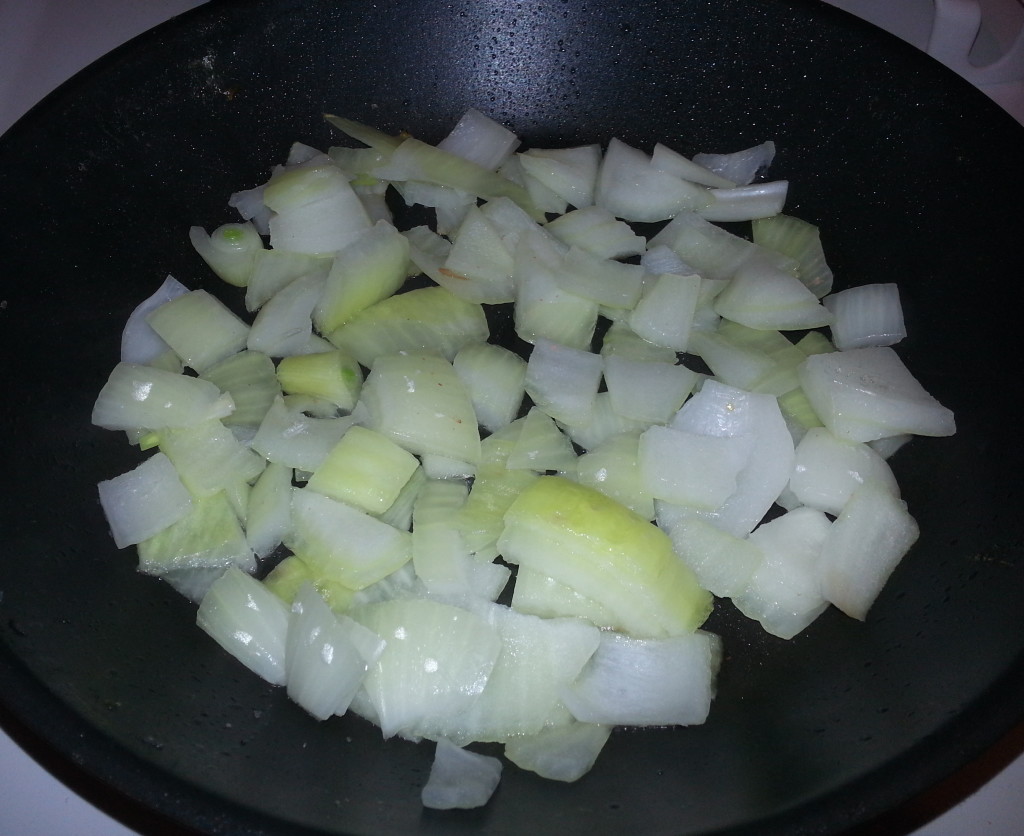
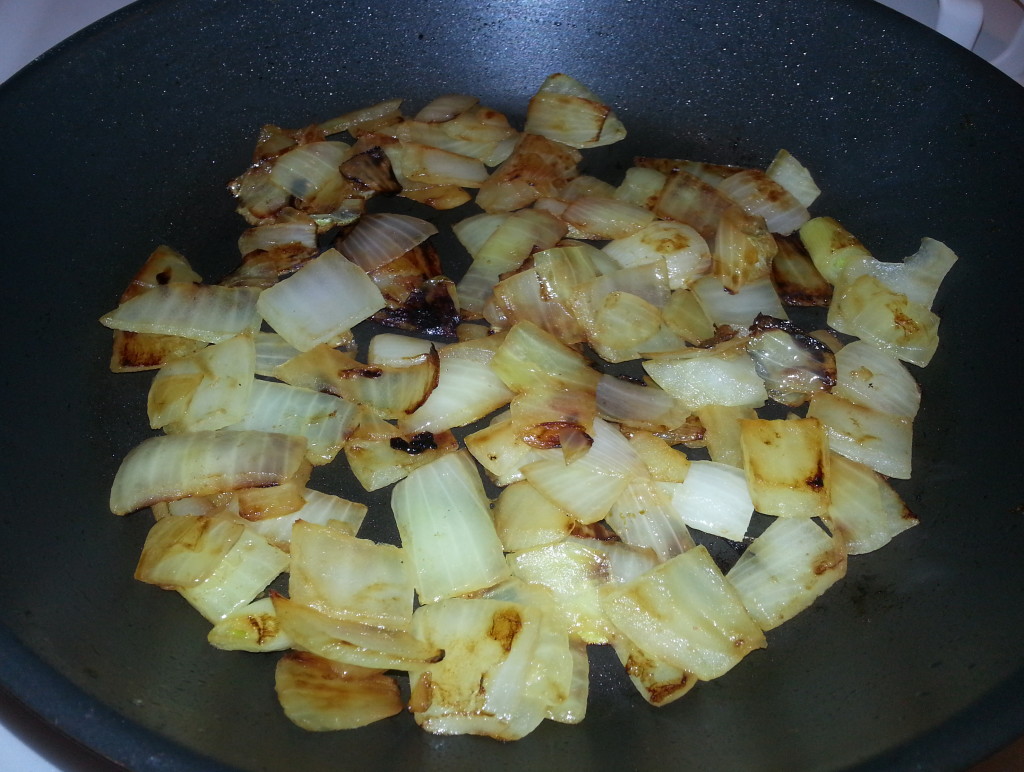
  • Preheat a medium to large pan on stove at medium-high.
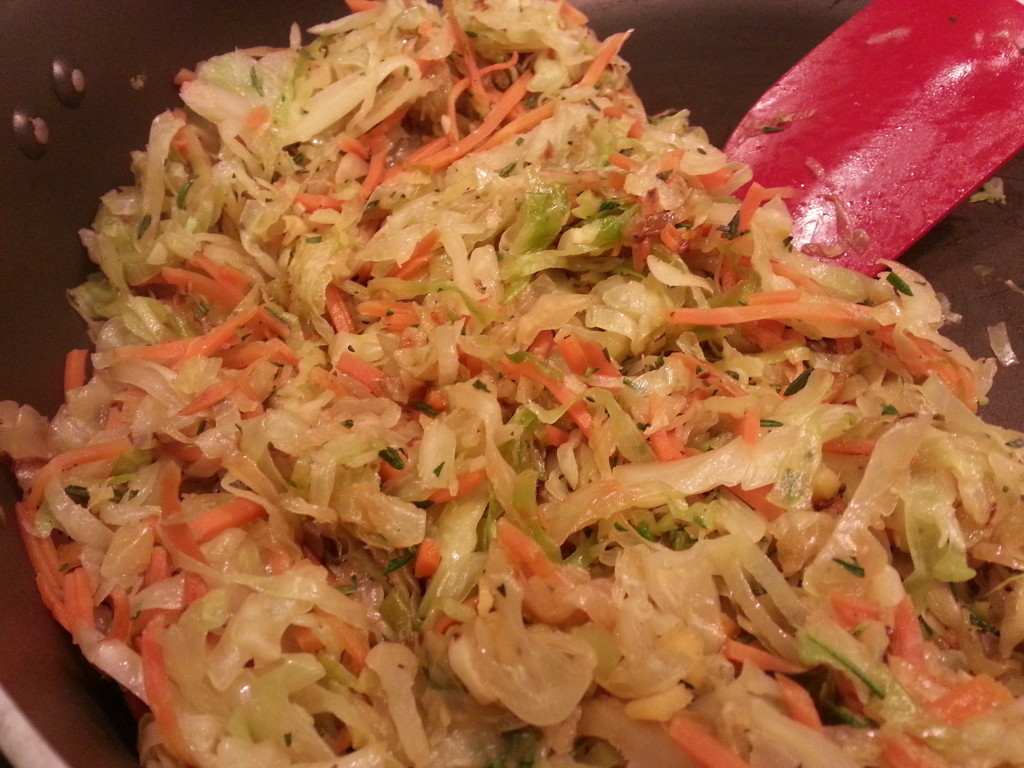
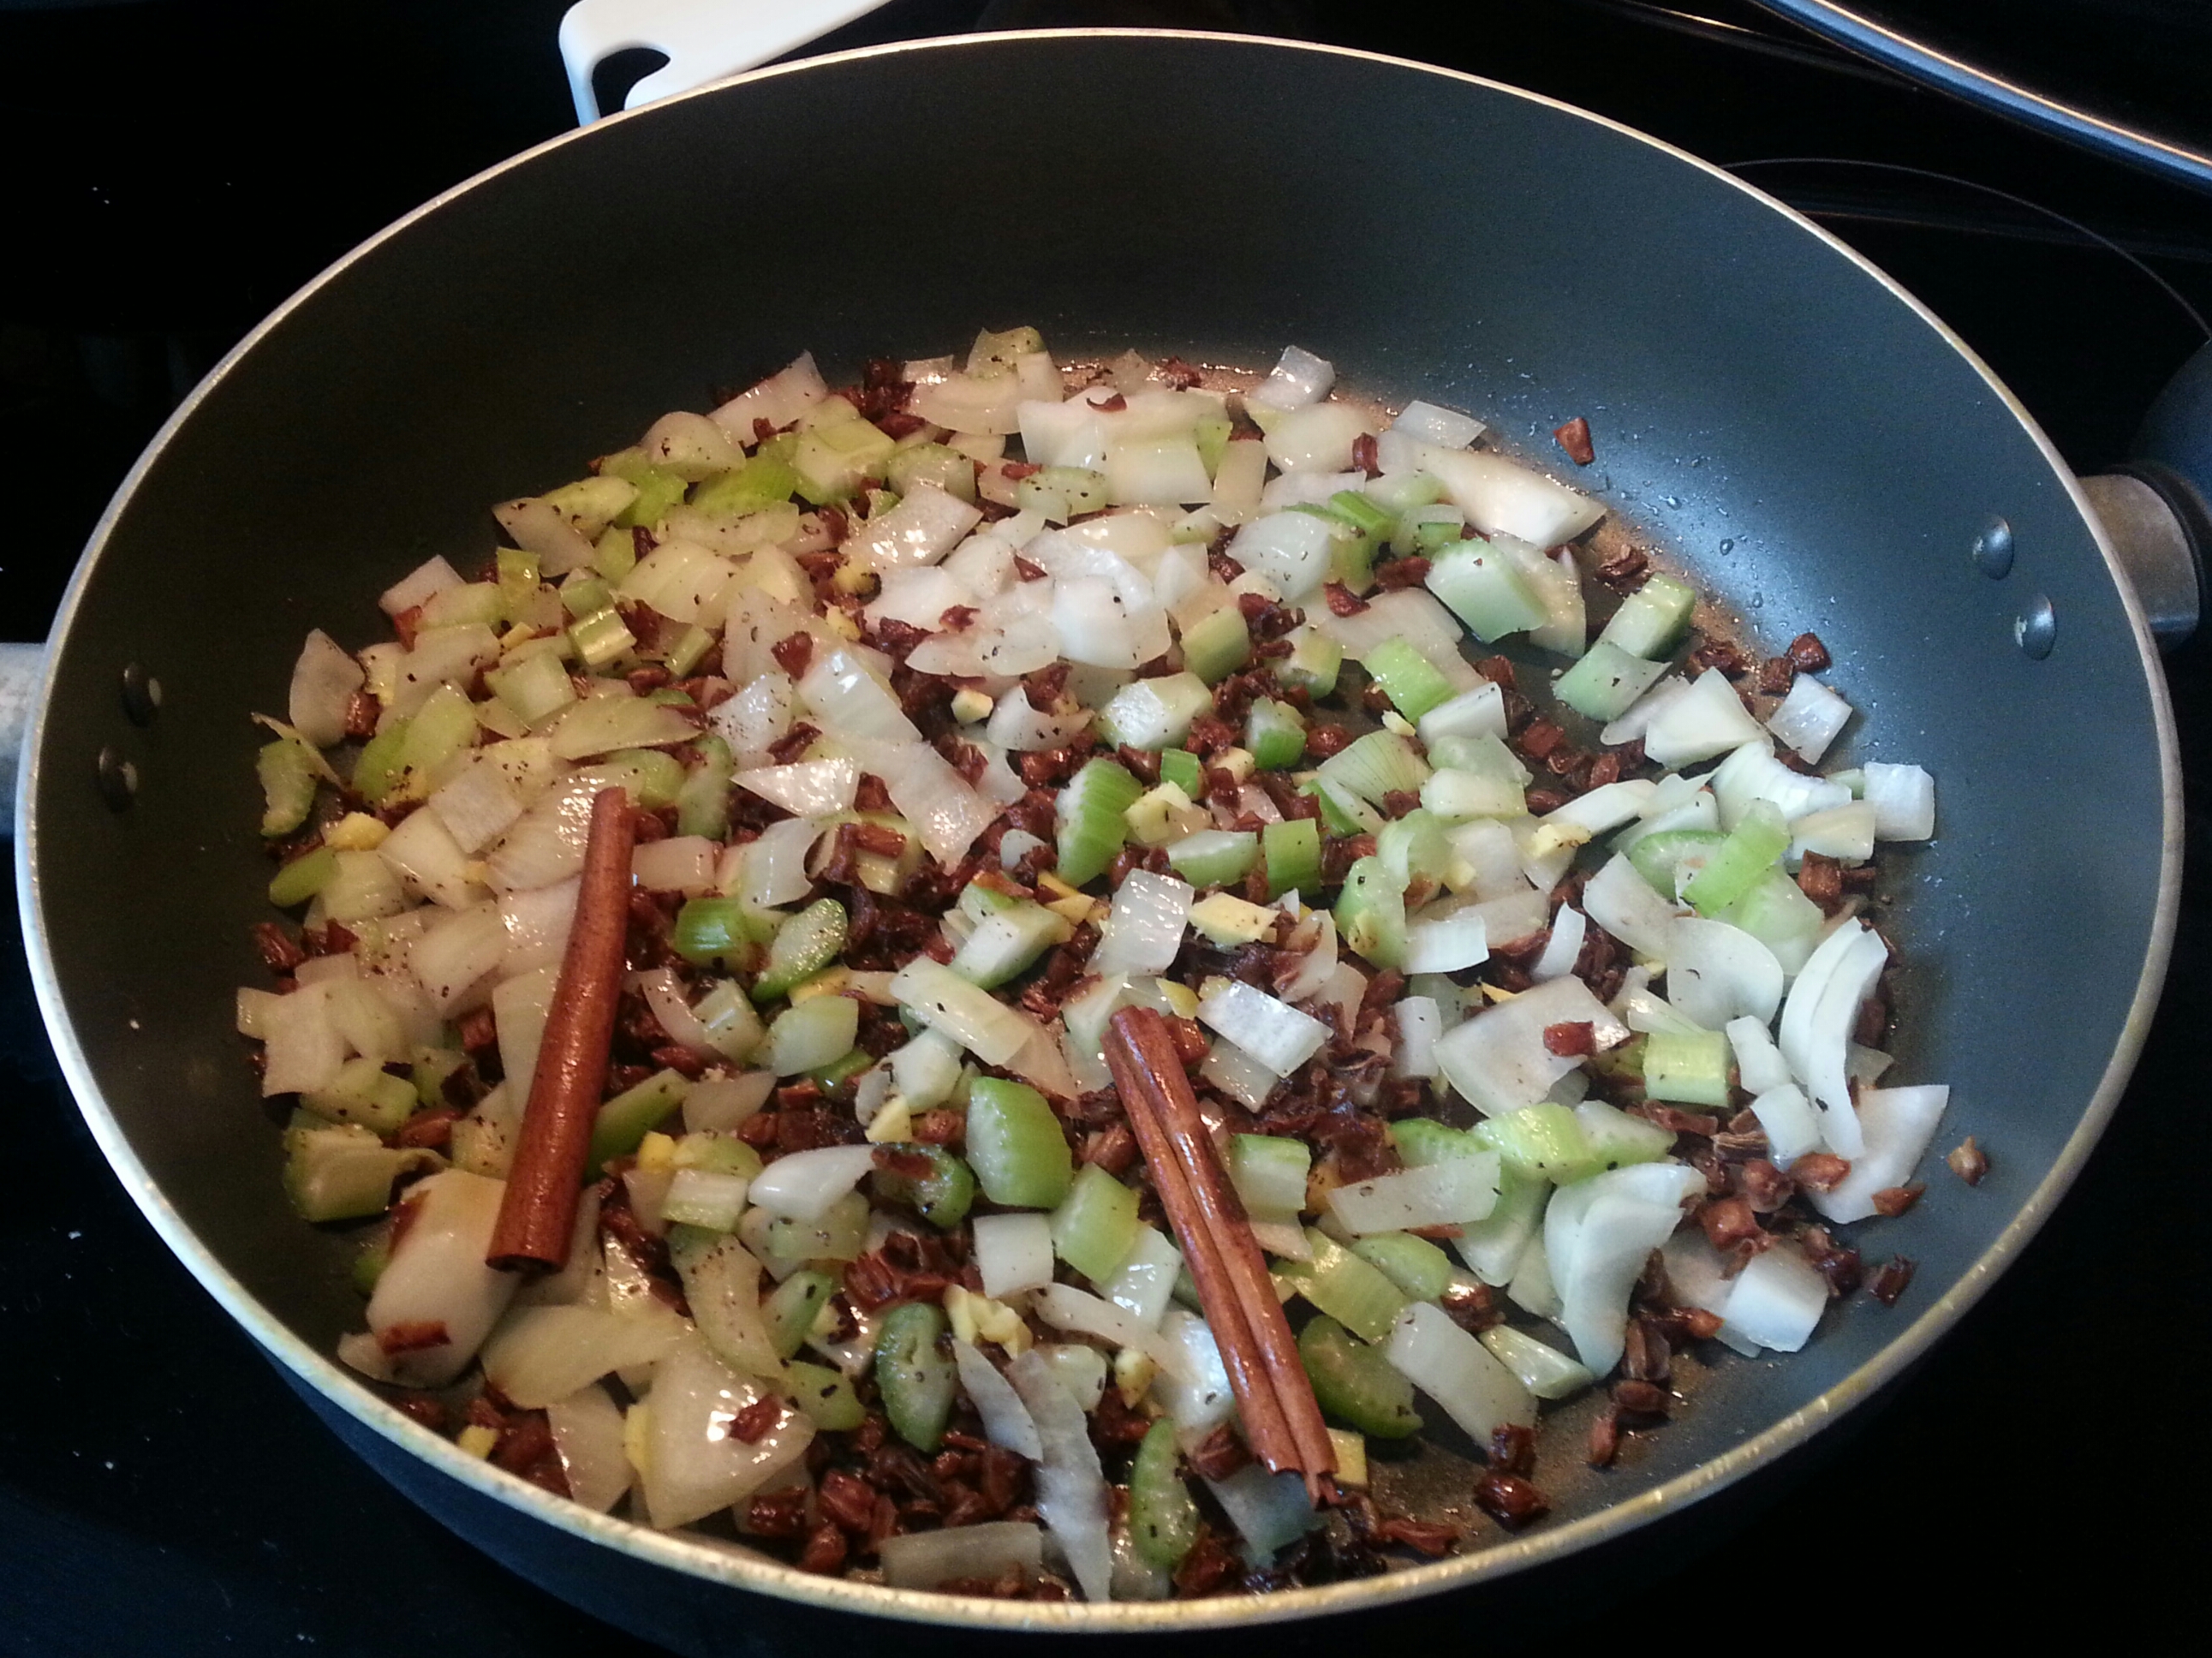
  • Put in coconut oil, chopped onions, and salt. Cover and let cook, stirring around every 5 minutes or so, until onions are translucent and beginning to caramelize into a light brown (about 20 minutes).
  • Add in garlic and let saute with onions for 2-3 minutes, until fragrant. *Always avoid burning or browning garlic, as it may cause bitterness in the dish.
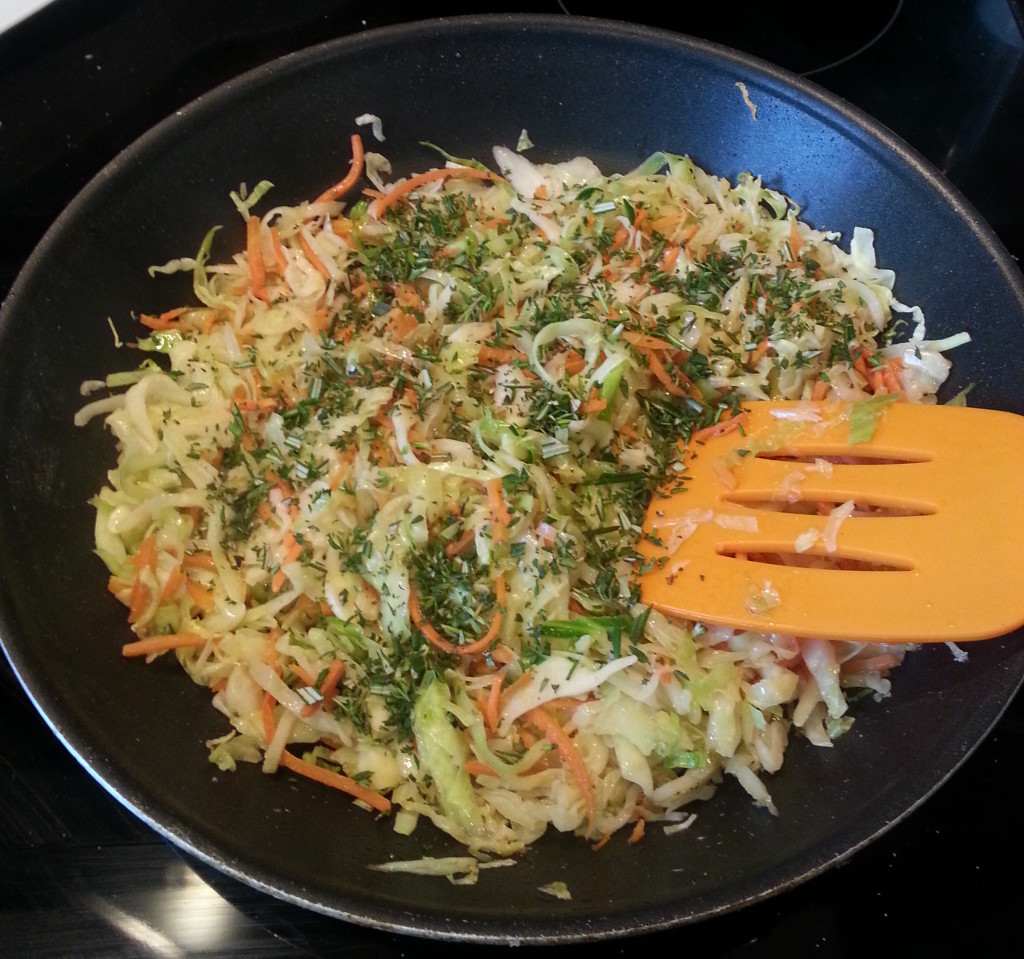
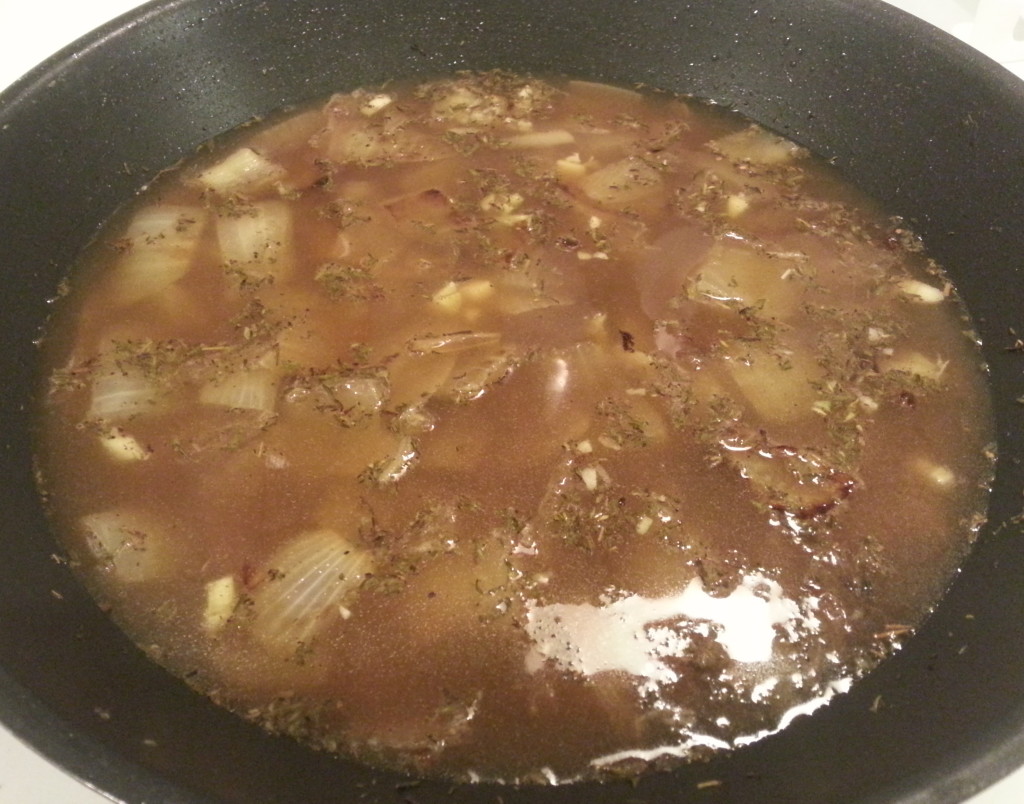
  • Add in balsamic vinegar, pepper, thyme, all spice, sugar/stevia, and stock. Bring to a simmer before turning heat down to medium-low. Cover and let cook another 5-10 minutes until flavors marry.
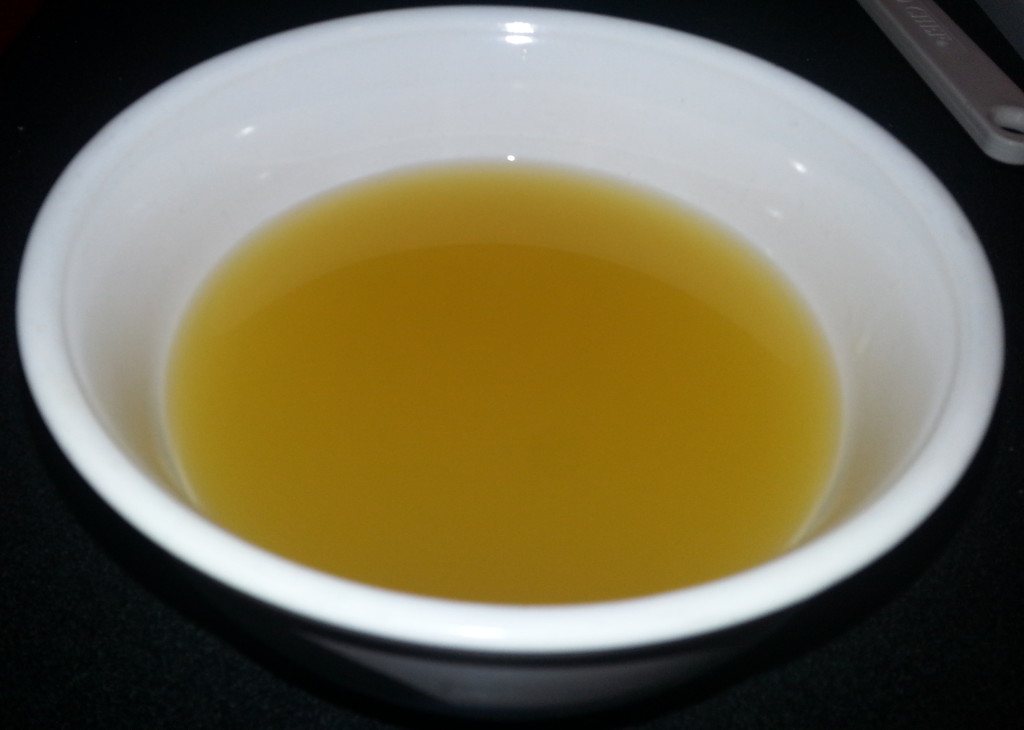
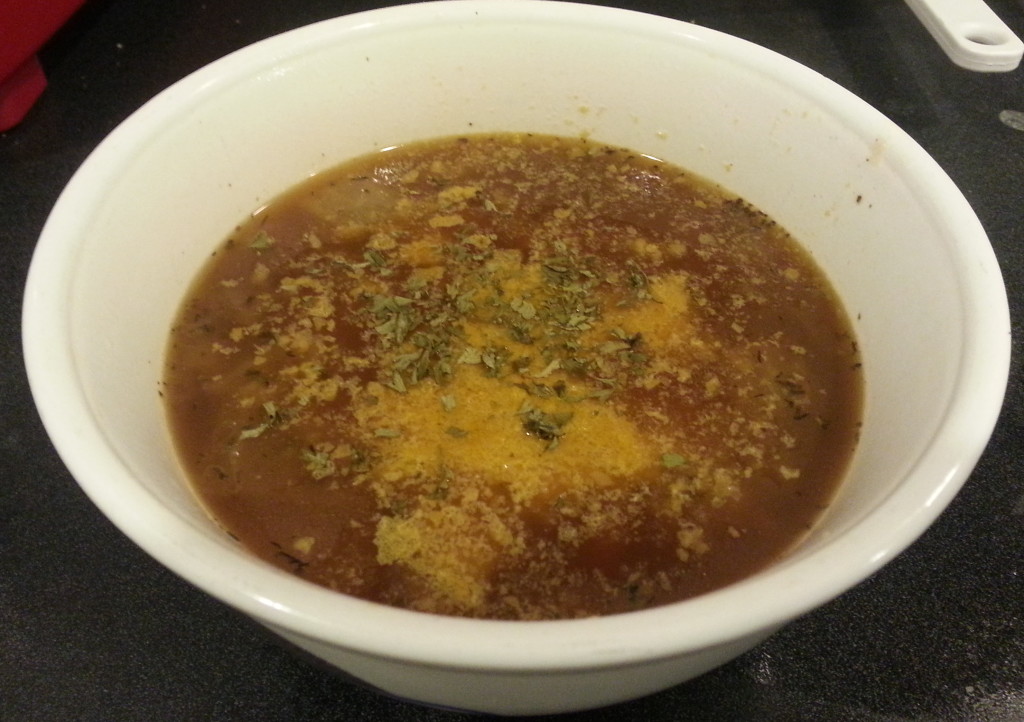
  • Pour in your favorite bowl; sprinkle the top with Nutritional Yeast flakes and parsley… Enjoy!
CROCK-POT VERSION

Ingredients (makes 8-12 servings) *use organic, if possible

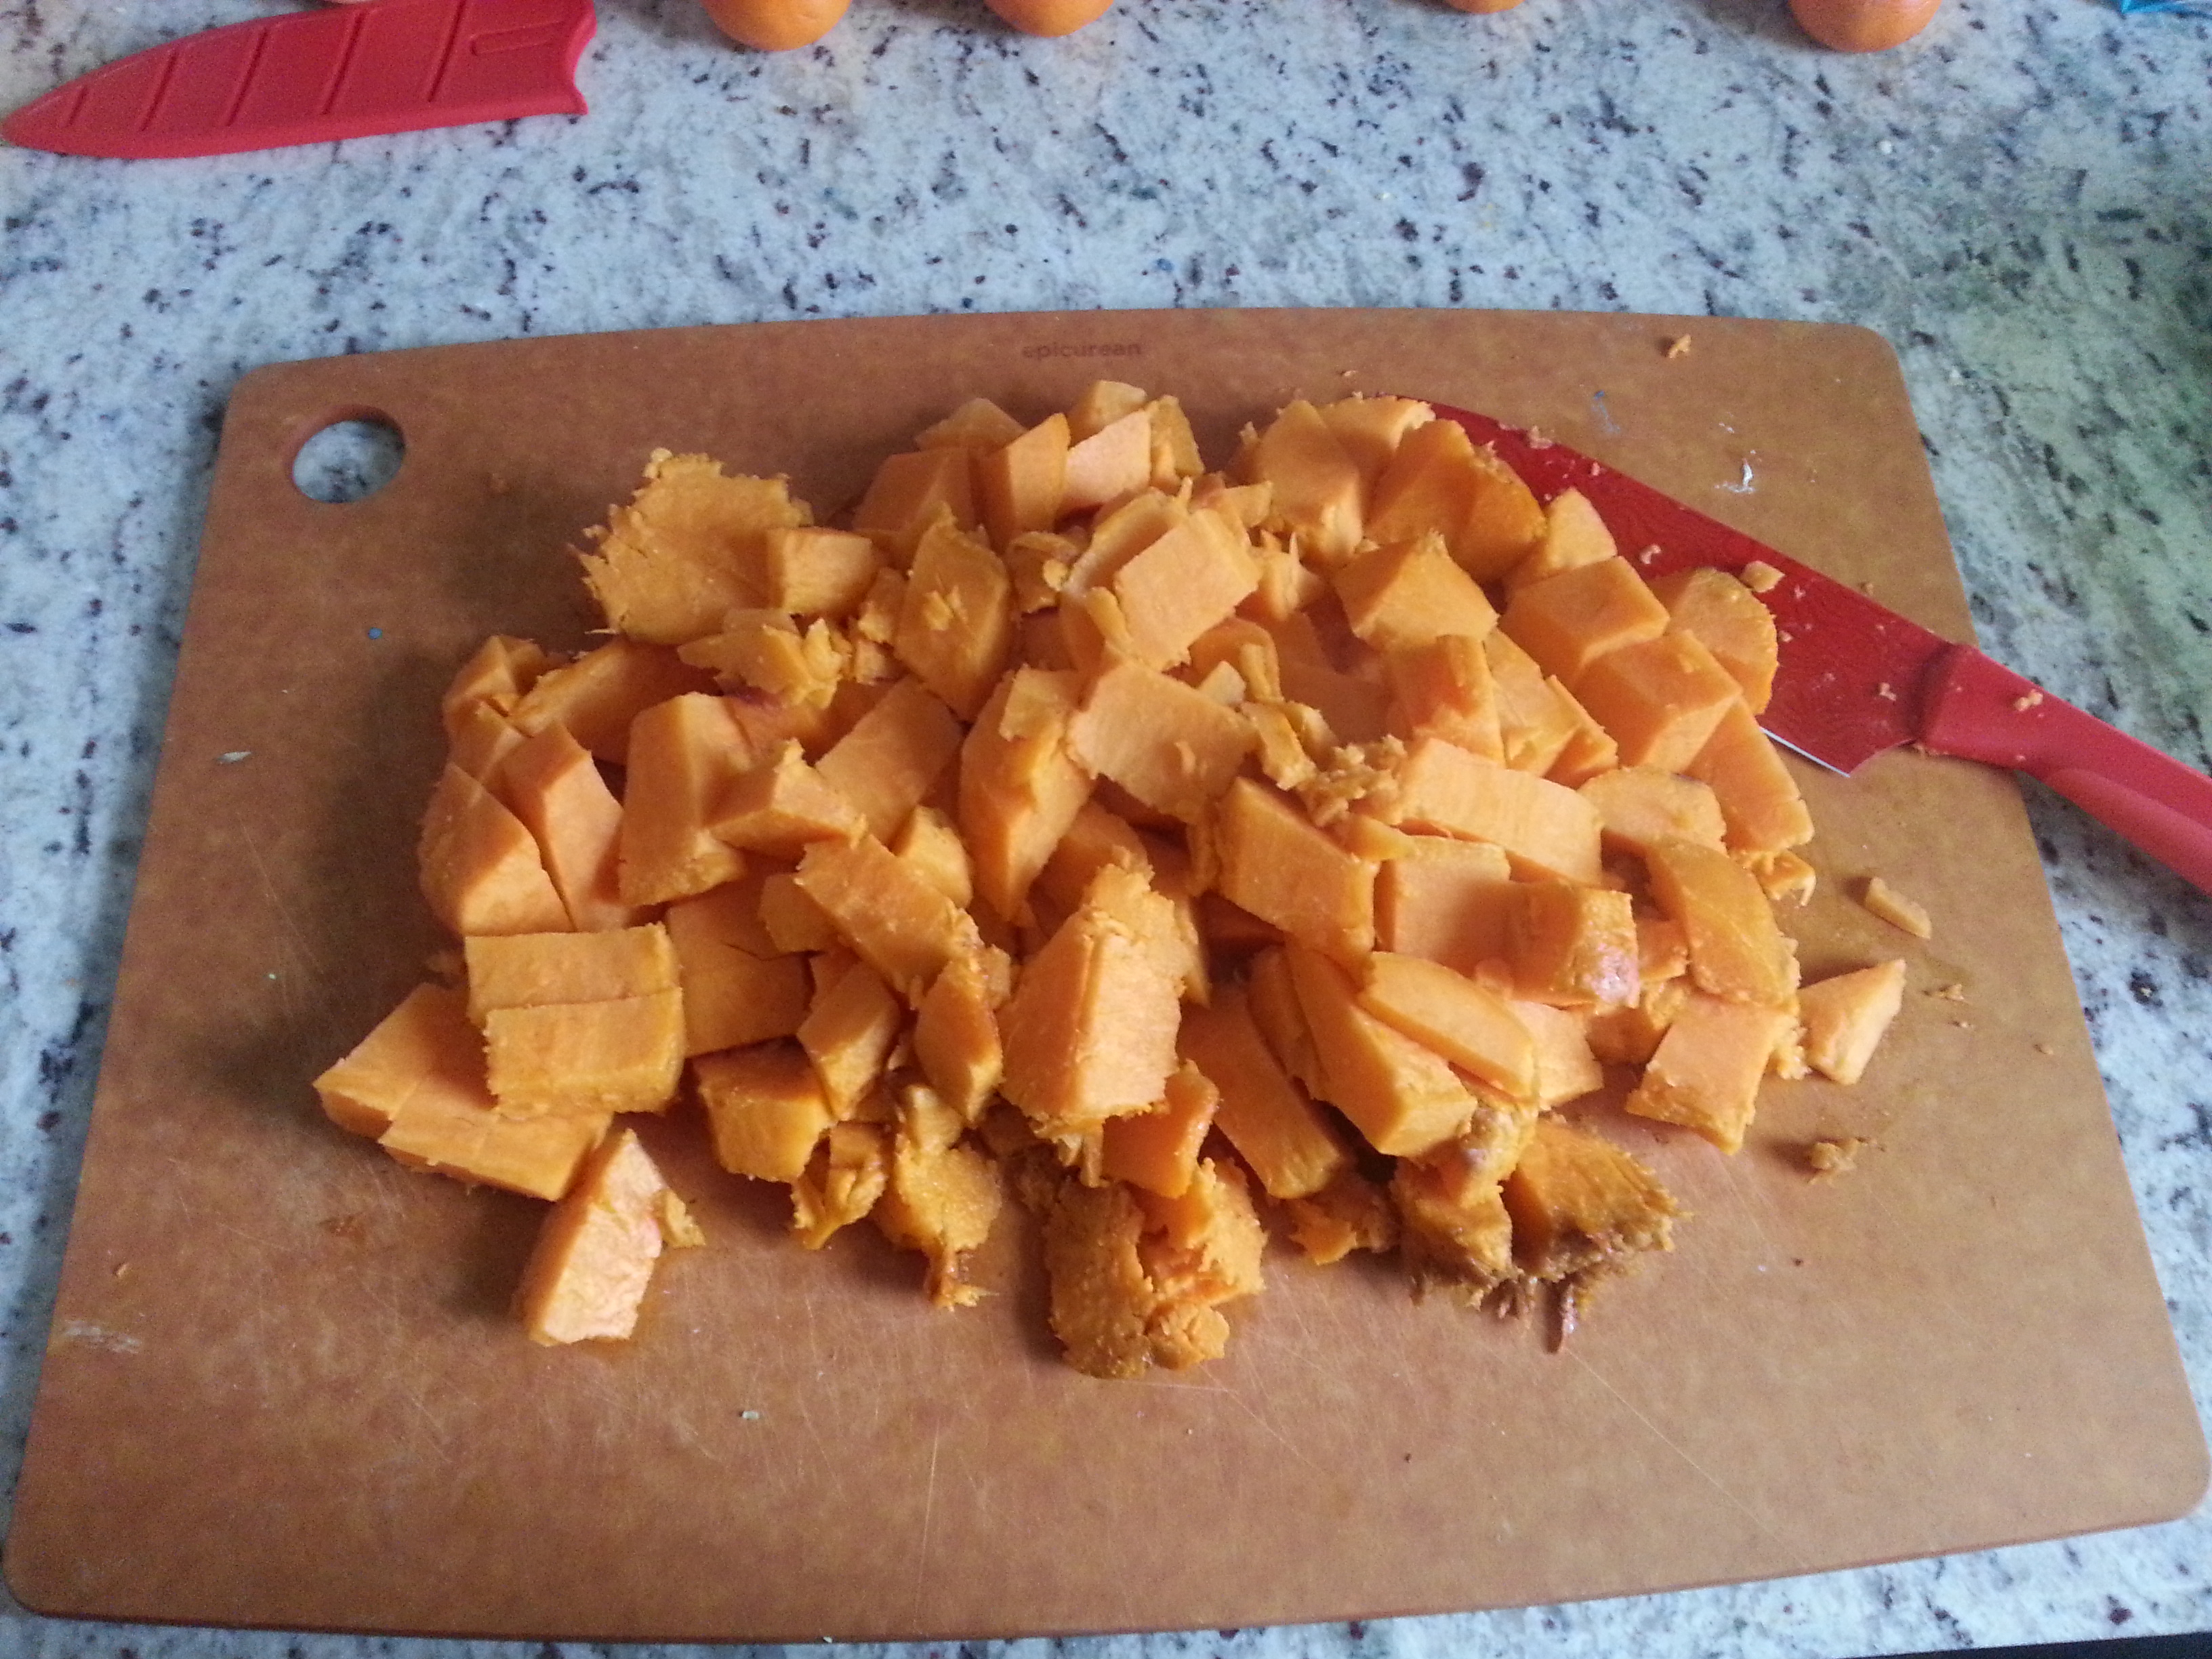
6-8 (medium to large) Sweet Vidalia Onion, chopped

4 cloves of garlic, minced

1-2 Tbsp. Extra Virgin Coconut Oil

¼ Cup Balsamic Vinegar

2 ½ to 3 (32 oz) Cartons of Organic, Low-Sodium Vegetable or Chicken Stock

3 good pinches of Freshly Ground Sea Salt

3 good pinches of Freshly Ground Black Pepper

1 heaping Tbsp. Dried Thyme

½ tsp. (or a good sprinkle) All Spice

1 Tbsp. sugar of choice (coconut, organic cane, honey) or 4 drops of liquid stevia

1 Tbsp. Nutritional Yeast flakes (per bowl)

1 tsp. Dried (or chopped fresh) Parsley (per bowl)

Directions

  • Set Crock-Pot to HIGH and drizzle half of your coconut oil at the bottom.
  • Put in half the onions and sprinkle salt. Drizzle the rest of your coconut oil and put in the remaining onions, garlic, thyme, pepper, all spice, and salt. Stir around and cover.
  • Let onions cook and caramelize until they begin to sweat and turn a light brown (about 5-6 hours), opening to stir around once or twice in that time.
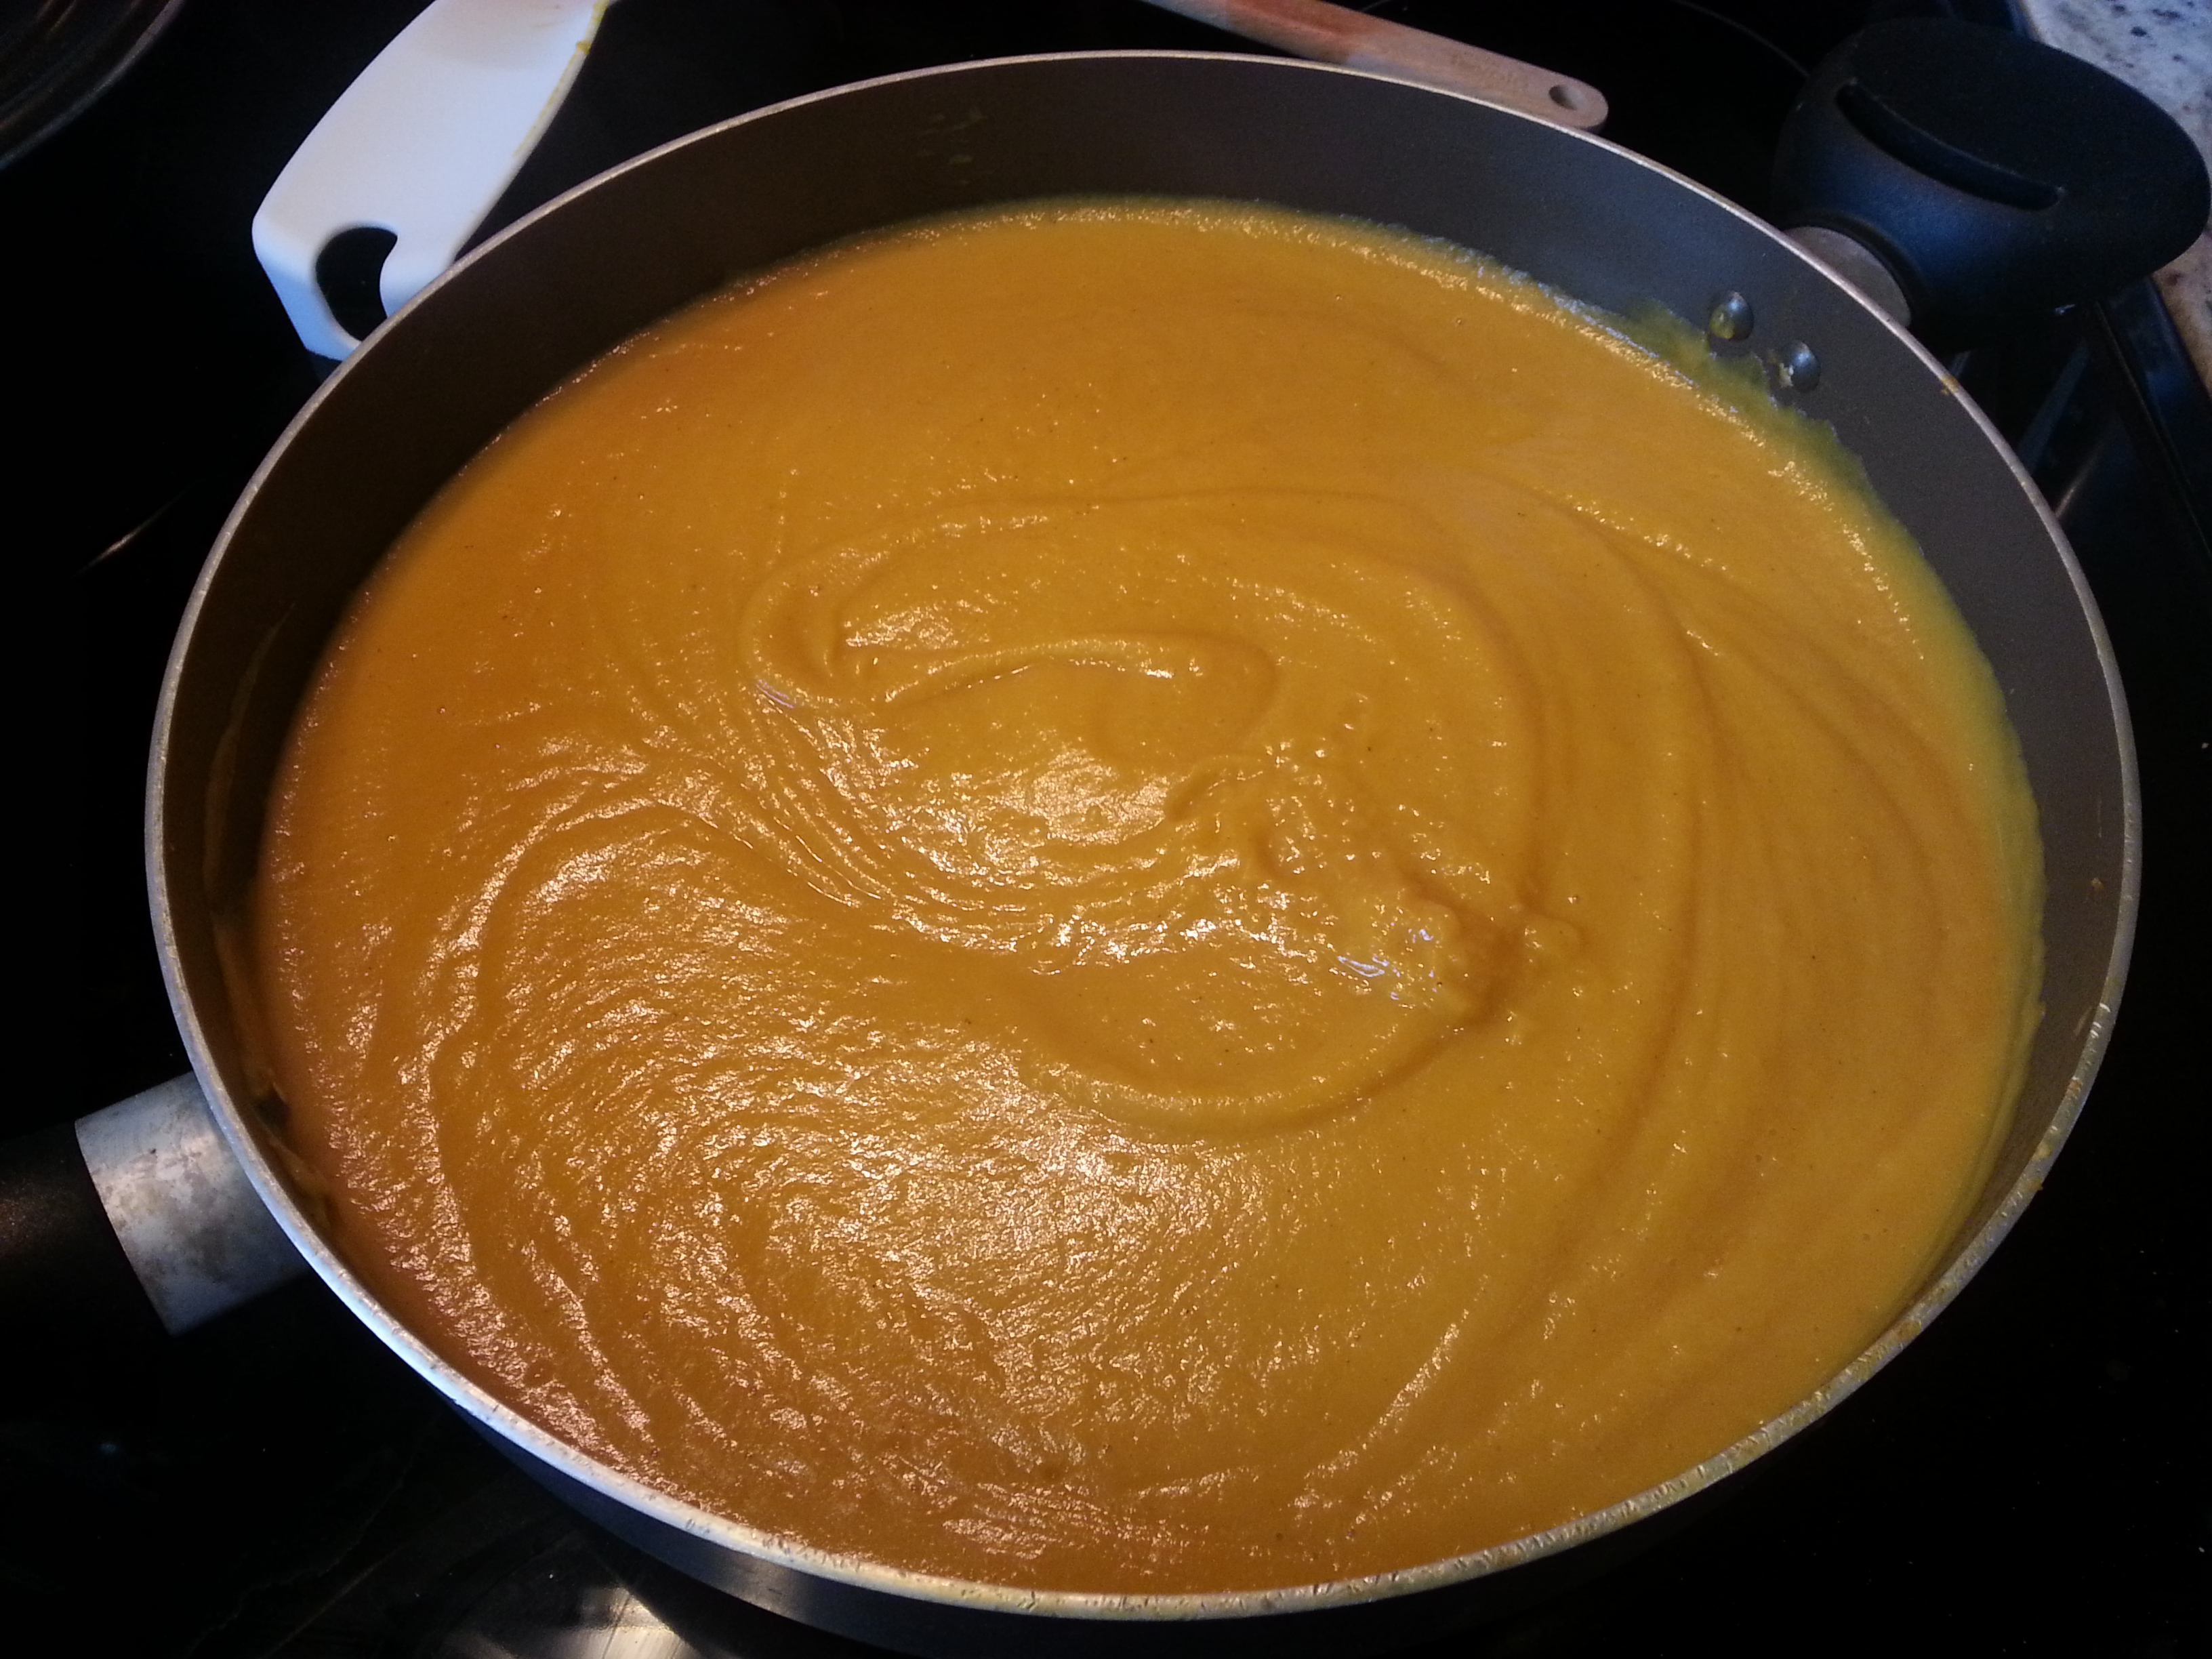
  • Add in stock, balsamic vinegar, and sugar/stevia. Stir well and cover again. Let cook for another 1-2 hours (up to 4) before serving it up in your favorite bowl with Nutritional Yeast flakes and a bit of parsley. Enjoy!

20140124_183436

20140124_183504

20140124_182840

20140124_183711

20140124_184051

20140124_185244

Oh, and don’t worry. No pandas were harmed in the making of this glorious dish. I just happen to love pandas, and it only seemed fit that this amazing soup be named after something I adore just as much!

Easy, Homemade Oat Waffles (or pancakes) – gluten-free, vegan, low-fat, delicious! (RECIPE)

If you’re looking for a twist on getting healthy oats in for breakfast, but want to venture from the typical (delicious) bowl of warm oatmeal as your only vehicle – this recipe is exactly what you need.

EASY, Homemade Oat Waffles (or pancakes, if you don’t have a waffle maker).

20160207_114526

This recipe takes less than ten minutes to put together, twelve total minutes to cook, and the result is two giant waffles (which can yield 2-4 servings depending on your size and satiation) or 6-8 medium pancakes. It also utilizes ingredients that can all be found on the grocery list within The Grocery Store Tour Guide & Nutritional Workbook.

And if you’re worried about the overt denseness that a lot of oat-based recipes are guilty of producing? You’ll see that these waffles – though seemingly more dense than those made with a typical store-bought batter at first – turn out perfectly crispy on the outside while staying soft and fluffy on the inside.

20160207_114314

Plus, these high-fiber waffles will help satiate you and keep you full much longer than processed or store-bought mix versions. You can enjoy them with a touch of maple syrup or honey, eat them aside a scramble, or even use two pieces as your bread for an almond butter and banana sandwich.

You can even make these in bulk and freeze them. Just pull your serving out of the freezer and heat up in the toaster oven whenever a waffle-urge hits!

20160207_114230

As for the waffle maker I use, it is the Presto FlipSide Waffle Maker and it is amazing. I got it off of Amazon over two years ago and use it once a week on average, if not more. It not only makes the perfect waffles every time, but can be used as a sandwich press, scramble cooker, hash browns, and for tons of other sweet or savory concoctions. It’s easy to clean, takes up no kitchen space to store, and is virtually fail-proof.

20160207_112250

Basically, don’t be surprised if I organize a compilation of recipes utilizing this thing for a special eBook in the future… because it’s that awesome.

Once you bite into one of these crisp and fluffy waffles, you will taste their mild sweetness and hint of vanilla with cinnamon. They have just the right amount of whole-grain flavor while keeping the traditional feel of a classic Belgian waffle.

Now, enough talk. Onto this delicious recipe!


HOMEMADE OAT WAFFLES (or pancakes) *photos below

  • 1 cup of quick-minute or old fashioned rolled oats
  • ½ cup flour (I use a gluten-free flour blend, like Trader Joe’s brand)
  • 1 Tbsp. xylitol (or sweetener of choice, like stevia for baking, turbinado, regular sugar, or coconut sugar)
  • 2 tsp. baking powder
  • tsp salt
  • ½ tsp. ground cinnamon
  • 1 cup almond milk (I use unsweetened vanilla flavored)
  • 2 tsp. apple cider vinegar
  • 1 tsp. pure vanilla extract
  • ~8 drops liquid stevia (if you do not have this, use 2 Tbsp of your above sugar/sweetener instead of one)
  • 1 whole egg or a flax substitute (using a 1:3 ratio of ground flaxseed to water)
  • 1 tsp. coconut oil
  • Non-stick cooking spray (like Trader Joe’s Coconut Oil Spray) for the waffle maker or pan
  1. Get out a large bowl, a liquid measuring cup (at least 16 oz large), your blender/food processor, and your waffle maker.
  2. Pour almond milk and apple cider vinegar into the measuring cup. Whisk and let sit as you do the following steps.
  3. Put oats into your blender or food processor and blend for about ten seconds, or until they are ground to about half the consistency that they were beforehand (see photos below).
  4. Into your large bowl, put oats, flour, baking powder, xylitol/sweetener, salt, and cinnamon. Whisk altogether to incorporate.
  5. Into the measuring cup with liquids, add vanilla extract, liquid stevia, and egg (if using). Whisk to blend well and make sure egg is mixed, then add liquids to dry ingredients in bowl. Whisk well.
  6. Add flax-egg substitute, if using, and coconut oil into bowl. Whisk well (making sure coconut oil blends since it may be more solid due to the cold batter). Let batter sit for at least ten minutes to thicken.
  7. Plug in waffle maker to let it preheat (or begin heating pan, if making pancakes, on medium-high heat).
  8. After batter has rested for at least ten minutes, give a quick stir and pour it all into the liquid measuring cup. Scrape the bowl with a spatula to ensure you get all of the waffly-pancaky batter goodness into the cup (photo below).
  9. Once waffle maker is heated, open and spray lightly with non-stick spray on both sides. Give batter a quick stir and pour exactly half (or 1 cup) of your batter into the center of the waffle maker. Close, set timer for 6 minutes, and flip to other side (if you are using the same Presto FlipSide waffle maker I own).
  10. Once the timer goes off, check your waffles. They should be light and slightly golden in color (see photos). Feel free to let them cook an additional 1-2 minutes if you like a really well-done and crispy waffle.
  11. Enjoy however you like! *To maintain crispness if you do not plan on eating immediately, set your oven to about 200 degrees F and place cooked waffles directly on the racks. This will keep them from getting soft as it keeps them warm. If you plan on freezing them, make sure they are cooled completely on a rack before freezing.

Remember to tag #truehealthtrifecta and share how you like this recipe on the True Health Trifecta Facebook page!

Step-by-step photos:

20160207_110133

20160207_110328

20160207_111316

20160207_112140

20160207_112703

20160207_112734

20160207_112826

20160207_112858

20160207_114224

20160207_114329

20160207_114509

Sautéed Cabbage & Carrots: my UNIVERSAL side dish! (RECIPE)

This dish has been a legit staple in my household for a long time now and, even still, I find myself craving it almost daily.

20160118_193933

I even included this as a bonus recipe in my latest book, The Grocery Store Tour Guide & Nutritional Workbook (which will be available in just one week… and I am super excited about sharing with you all)!

Before I get into this insanely easy and flavorful recipe, here’s a little bit more about the 70-page Grocery Store Tour Guide & Nutritional Workbook. This beautifully designed, visual book contains a plethora of useful information, including:

  • Shopping preparation tips
  • Explanations about supermarket psychology
  • How to identify and define misleading label claims
  • Tidbits about nutritional lingo and regulated terms, such as GMO, Certified Organic, Gluten Free, etc.
  • Food storage and safety tips
  • A thorough seasonal produce chart
  • Aisle-by-aisle tips to navigate the supermarket like a health-conscious pro
  • A list of ingredients to avoid
  • My personal kitchen essentials
  • Easy Meal and snack recipes
  • A post-tour quiz (if you are a trainer or nutrition coach, this e-book is great to use with clients!)
  • Much, much more…

Plus, unlike my print-only book – The Holistic Fitness Starter Guide – which will be available at the end of the month, I decided to publish The Grocery Store Tour Guide in print and as a quickly accessible e-book. This means that as soon as you buy it here, you will be able to download it to your PC, laptop, or tablet immediately and begin reading while you wait for the printed copy to arrive!

How cool is that?!

Now, as exciting as this new book is, back to the deliciousness that is My Universal Side Dish. First of all, it’s crazy simple to make since we are using pre-shredded cabbage and carrots. The only chopping involves the fresh herbs, ginger, and garlic (unless you have minced ginger and garlic in jars, in which case, this may be the easiest recipe ever).

20151212_171501

This is also so incredibly flavorful thanks to the fresh Rosemary and Thyme. Sometimes, I’ll add in fresh basil or sage and it becomes a bigger explosion of flavor in your mouth.

As I mention in The Grocery Store Tour Guide & Nutritional Workbook, this side dish goes well with nearly everything. On salads, sandwiches, in wraps, or by itself. It’s fast to whip up and perfect to keep ready-handed in the fridge. One of my favorite ways is wrapped up in rice paper wraps with some thin rice noodles.

20151212_180806


20160118_192837


Give this recipe a try. I promise you will be happy you did!


MY UNIVERSAL SIDE DISH: SAUTéED CABBAGE AND CARROTS

Ingredients:

2 (10-16 oz.) bags of Shredded Cabbage

½ of one (10-12 oz.) bag of Shredded Carrots

1 Tbsp. fresh Rosemary (leaves from about three 4” sprigs), chopped

1 Tbsp. fresh Thyme (leaves from about 5 4” sprigs), chopped

1-2 inches of fresh ginger root, peeled and minced

2 garlic cloves, minced

1 Tbsp. Coconut Oil

Salt & Pepper to taste


Directions (photos below):

  • Heat a large sauté pan or wok on the stove at medium to medium-high heat and place coconut oil in the pan.
  • Once the coconut oil is melted, add ½ bag of carrots and two bags of cabbage. Sprinkle minced ginger on top and season the surface with salt and pepper. Cover to let cook down about 5-7 minutes. (The pan may seem really full, but the veggies cook down quite a bit.)
  • Remove lid and toss the cabbage and carrots to encourage even wilting/cooking. Cover and let continue softening for another 3-5 minutes.
  • Remove lid and add rosemary, thyme, and minced garlic. Toss well until all the herbs are well incorporated into the mix. (If the veggies seem to be browning from the bottom of the pan, lower the heat a little bit.)
  • Continue cooking, tossing occasionally, until veggies are softened and cooked down to a little less than half of the original volume. Add more salt to taste, if needed.

Enjoy in any which way!


20160118_191339


20160118_192511


20151208_170028


20160118_192828


20160118_194010


20151212_180719

Rich, Delicious Pumpkin Cheesecake (RECIPE) – Easy, no bake, dairy-free, vegan!

This is one of my go-to recipes when it comes to last minute requests for dessert, which is exactly what happened on Christmas this year. I was asked to bring a dessert the night before the big day – well after all the grocery stores were closed. Seeing as I normally have all of the ingredients on hand that are needed to put this Pumpkin Cheesecake together, it was easy breezy.

Too delicious to set up for a food photo shoot. Paper plate it is.

This dessert turns out super rich, indulgent, creamy, and cheesecake-y… despite not having any dairy whatsoever. Unless you let everyone know this is a plant-based dish, no one will guess that cashews are the “cheese” up in this cake. Not to mention, there are virtually no dirty dishes, give or take a few measuring utensils, because everything goes straight into the blender with no bowls or mixing necessary. It’s also fast to prepare since all you do is blend for a couple of minutes until it becomes nice and creamy.

The hard part is the waiting time for this to set, which still isn’t even that bad at only an hour or two.

Yaaaas this Pumpkin Cheesecake deserves a porcelain plate. But taste > aesthetics.

All that said, it’s important to remember this is still an indulgent dessert. Just because it is made with more nutritious and quality ingredients than any store bought (or even traditionally made) cheesecake, doesn’t mean it’s a free-for-all to have a handful of giant slices and nudge it off as okay since it’s “healthy“. I mention this because whenever I concoct any food things – whether it is a main dish, appetizer, dessert, drink, anything – I noticed many people assume it is a “healthier” or “lighter” version and, therefore, it’s okay to overindulge. This isn’t the case, as the macro-nutrients (namely, fat and sugar) do still add up which means that sometimes my versions aren’t necessarily lower-calorie versions. They’re just better quality options than others.

Treat any dessert like dessert, and any main dish as a main dish. Eat until your just about satisfied and avoid stuffing yourself. Treat this Pumpkin Cheesecake like you’d treat any special dessert or high-fat-high-sugar treat. (Hint: That means it may be best for your waistline to keep this recipe in your arsenal for potlucks or special date nights. Once you taste it, you’ll see why… It’s really freaking good and tough not to eat the whole thing yourself!)

20151215_123102
High quality ingredients does NOT always equal lower calorie treats!

Now, get to makin’… and make sure you enjoy each bite!

EASY, DELICIOUS PUMPKIN CHEESECAKE

For the filling:

  • 2 cups raw cashews (soaked in cool water overnight, or use boiled water and quick-soak for an hour)
  • ½ cup 100% pumpkin puree
  • ¼ cup coconut oil
  • Juice from one lemon (about 3 Tbsp)
  • 1 tsp pure vanilla extract
  • ¾ cup pure maple syrup
  • 1 tsp. pumpkin pie spice
  • ¼ tsp. ground cinnamon
  • Scant ¼ tsp. ground ginger
  • A good pinch of salt
  • tsp. Chinese five-spice powder *this is my secret addition for pumpkin pie, too! Adds a touch of special!
  • Optional: ¼ cup unsweetened coconut flakes, toasted (to sprinkle on top when serving)
  1. Place all of the above ingredients (except coconut flakes) in a blender or food processor and blend until smooth.
  2. Pour the creamy filling into a prepared graham-style pie crust, or into a raw crust (recipe below).
  3. Place in the freezer for ~2 hours or until solid.
  4. To serve, remove from freezer and let thaw enough to cut through (about 20 minutes before serving). To avoid the cheesecake from getting too soft, don’t leave out for more than an hour and keep any uneaten portion stored in freezer (it may get too soft in fridge). This will easily keep in the freezer for up to a month, I imagine… Though it’s never lasted more than a week at my house!
  5. ENJOY! :)

NO-BAKE, RAW PIE CRUST RECIPE

  • 1 cup raw almonds (or 1 1/4 cup almond flour) *Pecans would be great, too!
  • 1 cup of packed, pitted Medjool dates (about 15 medium sized dates)
  • A good pinch of salt
  • 1/8 tsp ground cinnamon
  • 1/16 tsp ground ginger
  • Needed: A spring form pan, if possible, Otherwise a pie dish or even 8×8 baking dish works.
  1. If using a spring form pan, line the bottom with parchment or wax paper (and cut into a circle).
  2. If using whole almonds, place them in a food processor and grind until it becomes a coarse flour (photo below). *If you’re using the almond flour, skip to next step.
  3. Remove ground almonds from food processor and set aside in a bowl.
  4. Place dates in food processor and process until they soften and one big sticky ball forms (photo below).
  5. Add ground almonds back in with salt, cinnamon, and ginger, and continue processing until the texture becomes small crumbles that easily stick together when you press them between your fingers.
  6. Pour the crust mixture into the spring form pan (or pie dish, or baking dish), and press down with your fingers until it covers the entire area (photo below). *Wet your fingers with a little bit of water if you find it’s too sticky.
  7. Pour in your favorite pie filling (like the Pumpkin Cheesecake above) and you’re good to go!
Line your spring form pan…

20151215_122852

Grind up those almonds…

20151215_123606

Process the dates until a ball forms…

20151215_124813

Add ground almonds back in and process to reach this consistency…

20151215_125042

Press crust into bottom of pan…

20151215_125622

Pour in the pumpkin cheesecake filling and smooth with the back of a spatula…

20151215_132748

let set, cut, serve, and enjoy! :)

20151215_193757

Classic Sweet Potato Casserole with a twist (RECIPE) – Dairy free, Vegan, Delicious!

Did you know that the delicious and sugary Thanksgiving dish we know and love – the sweet potato casserole with browned marshmallows on top – was created by the marshmallow lobby in the early 1900’s? (You can learn a little more here.)

20151126_164036

I know, that may slightly tear away some magic from this classic dish. But the fact is, so many popularized, American foods that aren’t actually nutritious or beneficial – such as marshmallows – have simply become what they are due to smart advertising. Instead of getting too into the psychology and economics involved in the food industry (and further crapping on anyone’s marshmallow-loving parade), let’s just learn a little bit about marshmallows and where they came from.

Originating in ancient Egypt, marshmallows were a honey-sweetened candy made using the sap from the marshmallow root plant. It was soft and chewy, and used medicinally for ailments like sore throats.

Fast forward a few hundred years to the 19th century, and the labor-intensive methods of extracting marshmallow root sap made manufacturers come up with new processes (and involve new ingredients) which brought us to how we know the marshmallow today – as a light, fluffy, campfire treat which also tops the holiday sweet potato casserole.

Today’s version of the confection no longer contains the source ingredient of it’s name – marshmallow root – but instead, it is made up of a stabilizing protein such as gelatin (or agar, in Vegan versions) and sucrose (often with high fructose corn syrup).

20151205_235408

That said, there is nothing wrong with incorporating the better quality versions of marshmallows when making this crowd-pleasing dish once or twice a year. I use Dandies mini marshmallows, which contain no corn syrup, no gelatin, and no genetically modified ingredients. And, yes, they taste EXACTLY like your classic, name brand marshmallows – if not better.

As for the secret ingredient that gives this casserole a twist? Well, that would be mango juice of course.

20151205_235356

Most “classic” recipes call for heavy cream, which is meant to contribute creamy richness. It doesn’t really alter the flavor, but it does bring in a LOT of unnecessary fat and calories. You won’t find heavy cream or ANY dairy within this recipe, which has been a hit at many-a-holiday-dinner time and time again.

A Helpful Hint: If you choose go to back to your traditional sweet potato casserole recipe after trying this one (dare I say, doubtful?) try substituting canned coconut milk for your heavy cream. Though it will not lessen the overall calories or fat content, it will maintain the same creamy consistency and add a complimentary touch of flavor. All while being more plant-based friendly and allergen free.

If you just want to make a great sweet potato mash, you can stop before step 4 below and enjoy as is. It is just as delicious (and plenty sweet) without the marshmallow topping!

Sometimes the deliciousness can't wait for a photo opp, as shown here.
Sometimes the deliciousness can’t wait for a photo opp, as proven by the devoured portion above.

CLASSIC SWEET POTATO CASSEROLE RECIPE (with a twist)

  • 3 lbs Sweet Potatoes (about 4 large or 5 medium spuds)
  • 1 tsp. pure vanilla extract
  • 1/2 cup mango juice/nectar *I’m sure pineapple or orange juice would work, too… but try to find mango!
  • 2 Tbsp. coconut sugar or light brown sugar
  • 1/2 tsp. ground cinnamon
  • 1/4 tsp. sea salt
  • 1/2 cup pecan halves, chopped
  • Half a bag (5 oz.) of quality marshmallows *I use homemade, locally made, or Dandies mini-marshmallows
  1. Preheat oven to 450 degrees F and line a baking sheet with tin foil.
  2. Wash the sweet potatoes in the sink and pat dry. Pierce the tops of the potatoes with a fork, 2-3 times, before placing (holes up) on the baking sheet. Put in the oven for about 45-55 minutes, until sweet potatoes are fork tender and syrup begins to ooze out from the holes. Remove from oven and let cool until they aren’t too hot to be handled (usually 15-20 minutes).
  3. Lower the oven to 375 degrees F. Grab your 8×8 glass baking dish (metal is fine too, I’m sure – and 9×9 would also work). Peel the potatoes, putting the yummy orange flesh straight into the baking dish. Mash well with a potato masher or large fork. Add the vanilla extract, mango juice, sugar, cinnamon, and sea salt. Mash and mix together until all incorporated.
  4. Use a spatula or the back of a spoon to even out top of the mash. Sprinkle the chopped pecans evenly all over the surface. Then do the same with the marshmallows.
  5. Place on center rack in oven and bake at 375 degrees F for about 25 minutes, or until marshmallows begin to turn golden brown. Remove, let cool slightly, and enjoy!

*You can also make the dish ahead of time. Simply cover the mash in the baking dish after step 3 and refrigerate for up to 2 days. When ready to bake, remove from fridge for about 20 minutes to take the chill off and preheat the oven. Then add pecans and marshmallows, and bake as instructed above!

20151126_164045
Impromptu dinner paparazzi – starring the BEST sweet potato casserole!

Sweet Potato Soup: Easy, satiating, and delicious! (RECIPE)

‘Tis the season for warm and inviting soups.

20151115_153649

If you’re looking for a flavorful and easy meal – or a nutrient-rich accompaniment to any meal – this rich and creamy sweet potato soup is sure to do the trick. With the sweetness from roasted sweet potatoes and a surprising little kick thanks to fresh ginger root, this takes very minimal prep time and will make you a batch big enough to last a week.

Okay, in my house it’s more like a few days, but you get the idea.

It’s also whole food and plant-based (vegan), Paleo (if you indulge in the tubers), and gluten-free for those with sensitivities. Sugar-free, Low-sodium, blah blah benefits, benefits, benefits, free this, free that… Basically, unless you’re not into nightshades or onions or garlic, this recipe is perfect parts of magic for everyone.

Soups are so satisfying. It is the perfect meal if you’re craving something savory and filling, but aren’t a fan of feeling weighed down after eating. Plus, soups like this are incredibly inexpensive to put together. If you’re a single college student or a part of a monster household, it’s a lot of bang for your buck – financially and nutritionally.

There is virtually no fat in this recipe, it’s high fiber, and drowning in beneficial nutrients to make your mind and body all kinds of happy. You can eat it alone, aside a sandwich, aside a salad, with sprouts on top, as a different kind of salad dressing, tossed with other veggies or pasta, or drink it warm out of a mug. Ver-soup-tility, for the win!

Enough talk. Recipe time!

20151115_150646-1

SUPER SWEET POTATO SOUP

Ingredients:

  • 2 large sweet potatoes
  • Half a large sweet (yellow) onion, chopped
  • 2 stalks celery, chopped
  • 2 large carrots, chopped
  • 2-3 garlic cloves, minced
  • 2 inches fresh ginger root, peeled and minced
  • 1 Tbsp Extra Virgin Coconut Oil
  • 1 cinnamon stick, broken in half (optional, but recommended! Use 1/4 teaspoon ground cinnamon otherwise)
  • 1 carton (4 cups) low-sodium, organic vegetable or chicken stock
  • Salt & Pepper, to taste
  • Additional water, if needed

Preheat oven to 425 F. Scrub potatoes and poke holes on top of each with a fork. Place on a tin-foiled cookie sheet or baking dish and place in oven for about 45 minutes or until knife tender and syrup begins bubbling through fork holes.

While the potatoes are in the oven, heat a large saute pan on the stove at about medium to medium-high heat.  Warm & melt coconut oil. Add in onion, celery, carrots, and ginger, and stir to mix and coat in oil. Add some salt & pepper.

Once onions are translucent and carrots and celery soften, add in garlic and saute a couple of more minutes (don’t let garlic get burned or too dark, it will result in a bitter taste). Add in about one cup of the vegetable or chicken stock and the cinnamon stick or ground cinnamon. Turn heat down to medium-low and let simmer. Add a little bit more salt & pepper.

20151115_150612-1

By this time, the ‘taters should be done in the oven. Take them out and let them cool a bit. Carefully cut a slit through the skin to help them cool down faster. Once they’re cool enough to handle, remove the skin and chop roughly.

20151115_151322

Add the potatoes to the saute pan and pour in the rest of the vegetable or chicken stock. Bring the mixture back up to a simmer and cover. Let simmer for about 5-6 minutes. If you have a potato masher, you can also gently mash them up in the saute pan. Add a little bit of salt & pepper.

Remove the cinnamon sticks and transfer the almost-soup from the saute pan into a high speed blender or food processor, and blend until smooth, about 2 minutes. Add water until consistency you like is reached.

20151115_153246

If you’re not eating it right away, pour the soup into containers and let cool before refrigerating. Otherwise, pour the now smooth-n-creamy soup back into the sauce pan and let simmer a couple of minutes before serving. Hint: It’s great with broccoli sprouts and/or sliced almonds on top.

20151115_153622-1

ENJOY!

Addictive Roasted Brussels Sprouts (RECIPE) – only THREE ingredients!

Brussels Sprouts are amazing. They are nutritious, all kinds of bite-sized cute, and incredibly versatile.

Versatile, indeed. And, yes, these are the actual sprouts used in today’s recipe. Because multitask (and pigtails).

I’m not going to go into some story-time shpeel before sharing this recipe. It is so delicious and so easy that I am sparing you any pre-recipe childhood memory or suspenseful read before I share the goods. I also like typing out Brussels Sprouts like it’s someone’s proper name. The cuteness wins over being grammatically correct.

Brussels Sprouts are nutritious, with tons of vitamins, minerals, and fiber – but many people miss out because, well, how do you make them tasty? Steam them and they will likely turn into mush, making you feel like you’re eating baby food. Same goes for boiling. Pan-fry them and you may get a crisp outside, but likely a still-raw-ish inside.

People either love cruciferous veggies (like Brussels Sprouts, cabbage, broccoli, and cauliflower) or they don’t. I don’t care what your preference is. If you try this recipe, which has only THREE main ingredients, it will blow your previously-Brussels-Sprout-hating mind.

Get ready for some yummy, candied cruciferous nuggets you will find yourself eating like popcorn.

20151018_160158Brussels Sprouts for dayssssssssss…


SWEET, MAPLE-ROASTED BRUSSELS SPROUT POPPERS

You will need:

1-2 stalks of Brussels Sprouts, for best flavor (or enough Brussels Sprouts to cover a large, rimmed baking sheet)

1/4 Cup extra virgin olive oil

1/2 Cup high-quality, pure maple syrup

Salt & Pepper (to taste, preferably fresh ground)

Easy-peezy Directions:

  1.  Preheat your oven to 375 degrees F.
  2.  Rinse Brussels Sprouts well. If cutting from stalk (as I did for this recipe), rinse sprouts on stalk before cutting. Then proceed to *cut the sprouts off the stalk, halve them, and I also suggest cutting out a bit of the thick stem part from the base to prevent any bitterness once they are cooked. To do this, cut out a “V” of the firm white “heart” that would have been the base of the Brussels Sprout (you can peep this in the photos). Collect all your sprouts in a large bowl after the cutting.
  3. In a liquid measuring cup, pour in olive oil and maple syrup (measuring as you pour… win-win for less dirty dishes) and whisk well. Pour all over the Brussels Sprouts in the bowl and mix around until they are all coated.
  4. Pour the sprouts on your large, rimmed baking sheet. Season well with salt and pepper (I suggest freshly ground Himalayan Sea Salt & black pepper). Give another quick toss, and add a touch more salt and pepper. Sprouts should be in a single layer on the sheet, for even cooking.
  5. Place in the preheated oven for 40-50 minutes, making sure to toss half-way through the cooking time to get everything evenly roasted. Sprouts are done when most have a dark brown, crisp outer leaf and the larger ones are fork tender.
  6. Enjoy your insanely delicious cruciferous candy. Eat them as a side dish, pop ’em as a lone snack, mix them into a creamy soup (like my Simply Creamy Butternut Squash Soup), or share them with your veggie-loathing friends to convert them to the dark (leafy green) side.
20151018_160152
Withholding the excitement of such a winning recipe was 98% impossible, as proven by the blurriness (and the fork).

*Careful cutting those things off the stalks, especially if you are really excited and halfway paying attention… and just bought shining, new, sharp specialty knife from Costco. And your name is Jasmin. Yes, I nearly sliced my thumb clear off whilst preparing this recipe. However, the end result was clearly totally worth it.

Fun fact: Brussels Sprouts is commonly misspelled as “Brussel” Sprouts. Who’s guilty?

Amazing Client Progress, Why the Scale Sucks, and How to Gauge Progress Without It

Just taking a moment to share some amazing progress from a lovely client. This girl is busy, just like the rest of you… traveling, working, an active entrepreneur with multiple thriving businesses, and – like most people – she’s not about to live & breathe fitness with hours of working out and a strict diet. That’s why we created a workable plan that allowed her to continue with her lifestyle AND achieve results. Flexible eating, no extreme diets or excess cardio or even daily training, better self awareness and maintainable day-to-day tweaks.

Ariana 3month progress 2015-page-0

One thing that I tell clients looking to transition into a lasting healthy lifestyle is that you should start with the BARE MINIMUM that it takes to see noticeable change. That way, you are more likely to keep continuing and progressing without burning out or backsliding into former, unhealthy habits. Going balls to the wall from the start is a great catalyst for some as results happen fast; but would you rather see immediate progress and bounce right back… or practice just a little patience, trust the process, and feel and see on-going success?

The truth is, with strategic nutrition you can change your body composition to whatever you envision. At this point, I can easily calculate and provide most any individual with the nutritional and exercise means to do so. But the most important part of anyone’s health & fitness journey is remaining as balanced as possible with minimal stress and while maintaining (and increasing) happiness.  Providing knowledge on how to obtain that is my priority when coaching clients towards their optimal fitness (and one of the reasons I do not coach for physique competitions as well as rarely toss out listed-food “meal plans” like other trainers may).

Something else I want you to notice about her stats – ladies, especially – is that her scale weight DID NOT CHANGE yet her physique is obviously tighter, smaller, and more fit. Often, clients come in who are simply “skinny fat” or carrying slightly higher body fat than they feel comfortable in. However, they are far from overweight (never mind, obese). Let me tell you, a large part of my client base has been said types of college-aged females and the number on the scale is like their holy grail gauge of success. This kills me, because that screwy little number can dictate someone’s day, their self-worth, their self-esteem, and their overall confidence when it is actually a horribly inaccurate gauge of true fitness, health, and progress.

Try this out: Move your scale from against the wall of the bathroom floor to anywhere else in the house, and watch it vary by 3-4 pounds (yes, really… I have people test this all the time to prove this point)!

This is why another priority of mine is to teach my clients that how you feel – both in and out of your clothes AND in your mind – and body fat percentage are what matter. In non-overweight clients who are within the criteria I mentioned above, we gauge progress by waist size, overall inches lost (or gained if muscle), clothing sizes, photos and body fat calculations. I solely obtain someone’s scale weight in order to calculate their body fat percentage.

Speaking of body fat, you may have heard that popular fitness phrase that “muscle weighs more than fat”. Well, I’m here to tell you muscle does not actually weigh more than fat does. Think about it: a pound is a pound regardless to what you’re weighing. Saying muscle weighs more than fat is like saying a pound of baseballs weighs more than a pound of feathers… when, really, they both weigh the same: a pound.

What the popular fitness quote is really trying relay is that muscle tissue is more compact – or denser – than fatty tissue; meaning it just takes up less space. So, for example, my client shown above lost 3 lbs of pure body fat while gaining 3 lbs of muscle. That is why although her scale weight remained the same, she lost inches and now fits into a smaller dress size. Simply, her body composition is much leaner and more compact thanks to less fat and more muscle.

I hope that more clearly explains how even if your body weight may not change, you are still potentially making progress in the right direction (especially if you’re incorporating any strength training on your fitness journey).

In a nutshell, if you are not clinically overweight or obese and simply feel you need to “lose a few pounds” – please, PLEASE do not waste your time by diminishing any amazing progress, body reshaping, fat loss, confidence, potential for a great day, or value in your efforts because of that ridiculously wonky number on a stupid electrical device. Pick a goal pair of jeans or dress and try it on each week or two to help you gauge which direction you’re going.

Back to the original subject at hand, I’m not going to say that slow-and-steady always wins the race because let’s be honest – that’s not always true. However, I will tell you that if quick-fixes haven’t worked for you in the past (and by worked I mean you’ve maintained the results you achieved), it’s time to reflect on your daily habits and lifestyle. Add in one thing at a time – like a walk after dinner, one large salad a day, going to the gym twice a week, or swapping soda for sparkling green tea – and stay consistent with it. Once you feel like it’s almost second nature, add another new, healthy habit into your routine.

With that, stop idolizing the scale and the number it flashes every time you hop on. To gauge your progress, choose a pair of jeans or a dress to fit into for a night on the town (making your goals fashionable AND functional!) instead of anxiously depending on that little machine you just hop on for five seconds. If you do regularly weigh yourself only to feel discouraged most of the time, I challenge you to get rid of your scale and trust the process of adding health-conscious habits for a solid month. I guarantee that within a couple of weeks, you will notice increased mood and confidence (and even progress!) plus less stress simply by removing that morning-happiness-dictator from your routine… because you will finally be able to dictate your happiness again.

The BEST and Easiest Banana Pancake Recipe (using Manzano or “Apple” Bananas)

These amazing, healthy, easy-to-make pancakes were tweaked to perfection after about a week of making them daily… for dinner… because sometimes, week long pancakes-for-dinner-kicks just happen. And when they do, you just have to go with it.

Thank goodness I hopped on this nightly breakfast train, because by the end of the week I can hands-down say that I perfected this simple little recipe that I am now super excited to share!

It all started off with a little trip to one of the local Asian markets, where I always make sure to pick up at least one random fruit or veggie that I wouldn’t necessarily find in a typical grocery store.

Enter: These little guys…

Not my photo, but totally my little Asian banana find.

When I got them from the store, they weren’t as yellow as the photo above (with some black spots and edges). As one who is well versed on the ideal ripeness of regular bananas, they seemed ready to enjoy! But, as I soon found out, these bananas were nothing like regular bananas (except appearing like a mini-version). They were not even close to ripe and actually closer to tasting like a starchy, rough, unpalatable banana fraud.

I then did some research and realized that these particular bananas are ripe when the peel is about black – similar to plantains. So, a week or so later, I tried another one. And I finally understood what others had said about these lil’ nanaz tasting like an apple and banana had a baby with a hint of strawberry. That is pretty much exactly what they taste like – and it’s amazing.

So, lessons to learn here:

  • Baby-looking bananas need to be black (or nearly black) to be the most palatable.
  • They are also “starchier” with more bite than regular bananas, even at their ripest.
  • They taste like an apple and banana had a baby, and that baby only eats strawberries.
  • Most importantly, they’re dang tasty and add the perfect non-mushy-yet-banana-licious texture and flavor to the world of banana pancakes.

Back story over, onto what matters: the recipe!

20150213_150936

The BEST and Easiest Banana Pancake Recipe

(using Manzano or “Apple” Bananas)

Ingredients:

4 manzano bananas (ripe and black), mashed – about 150g *You can use 2 regular bananas equaling the same amount, but this may result in less dense/mushier pancakes
1 egg (or flax substitute using a 1:3 Tbsp. ratio of ground flaxseeds to water) *if using regular bananas and flax substitute, do not add water and use 1 Tbsp. ground flaxseeds only
1/2 Tbsp. coconut oil
Scant 1 tsp vanilla extract
3 Tbsp. quinoa flour
1/2 scoop Rawfusion Protein Powder in Vanilla (or your favorite plant-based protein powder; using whey will change pancake consistency)
1/2 tsp baking powder
1/4 tsp baking soda
2 tsp (small splash) apple cider vinegar
Good pinch of salt
1/4 tsp ground cinnamon

Directions:

  1. Mix mashed bananas, egg/flax egg, vanilla extract, coconut oil, and cinnamon together.
  2. Add dry ingredients and apple cider vinegar, and whisk or mix until all incorporated.
  3. Grease skillet lightly at medium/slightly before medium heat (level 5 or 250 degrees).
  4. Spoon 1/4 cup or so of batter into pan and spread out eventually.
  5. Let cook 2-3 minutes until edges look dry and top just begins bubbling, flip and cook another 2 minutes.
  6. Stack up and enjoy! (Makes four 5-inch pancakes, or one serving)

These can also be frozen after cooled, and reheated in a toaster oven! Practical AND tasty!

Kale & Quinoa Bowl: Easiest, Filling, Nutritious Go-To Meal (RECIPE)

I introduce you to my latest obsession:


Nom nom nom....


You can’t really tell by the picture, but that bowl is HUGE and it’s holding 1 cup of cooked quinoa and 100g of chopped kale… along with an insanely delicious dressing that I will share below. This simple whole food duo is the perfect, delicious, filling, hearty base for so many different things – the list is nearly endless.

You can go savory, sweet, or spicy; you can add everything from more vegetables like tomatoes, cucumber, zucchini, or pumpkin – to fruits like chopped dates, figs, berries, or apples.

Another super bonus? If you’ve put yourself into a nutritional category box – I bet this fits into it. It’s all the “free’s” (Gluten-free, Dairy-free, nearly fat-free, egg-free) and all the “friendly’s” (Paleo-friendly, Vegetarian–friendly, Vegan-friendly, Carb-friendly, Allergen-friendly).

And when it comes to macro-nutrient ratios, this particular serving size has:

272 Calories

11g Protein

39g Carbs

5g Fat

7g Fiber

56g Sodium

Adding even more benefit? Both of these foods are incredibly nutrient dense in not only the macros above, but the micros such as: tons of anti-inflammatory phytonutrients, vitamins and minerals ranging from B-vitamins to Vitamin E and zinc, body-loving fibers, and more.

Basically, quinoa and kale are soul mates in my book.

Like I said, there are ENDLESS directions this two-ingredient base can go; but let’s start with one of my favorites these days…

Creamy Southwest Spice Dressing

Ingredients:

  • 2-3 Tbsp Lemon Juice
  • .5 to 1 Tbsp Extra Virgin Olive Oil
  • 1 heaping tsp Tahini (sesame seed butter, in Middle Eastern section of most markets)
  • 1 Tbsp Dijon Mustard
  • 2 tsp Mrs Dash salt-free Southwest Chipotle Seasoning
  • 1/4 tsp Himalayan Sea Salt (I just fresh grind in to taste)
  • 2 Tbsp Balsamic Vinegar
  • 1 Scant Tbsp Garlic Powder OR 2 cloves minced garlic
  • 2 tsp Onion Powder OR 2 Tbsp minced red onion
  • Freshly Ground Black Pepper (to taste… I like quite a bit)
  • Half a dropper of liquid Stevia, OR 1/2 Tbsp honey, OR 1 Tbsp Stevia in the Raw

Directions: Put it all in a bowl, whisk together, and toss with quinoa and kale…. That’s it. (Hint: make ahead of time by at least 30 minutes to let the flavors all soak up and merry. Nom!)

I always have a few cups of cooked quinoa in the fridge that I prepare in bulk in my rice cooker, one or two days a week. As for the kale, get 2-3 BIG handfuls, remove any stems (they tend to be a bit bitter sometimes), and chop up well before tossing.

Coming soon:

The True Health Trifecta Nutrition & Recipe Book:

Simple Salads, Soups, Sauces, & Dressings Edition!

This is turning out to be the perfect collection for everyone; from those beginning their health and fitness journey, to those well on their way and looking for new, EASY, healthy go-to meal ideas!

It will include TONS of crazy-easy yet healthy recipes like the one above; plus photos, nutritional facts & tips, kitchen & pantry basics and recommendations, my Macro-Nutrient Cheat Sheet, Pre- and Post- workout meal ideas, Soups, Salads, Dressings, and more!

Not to mention, unless you are allergic to a specific food, this book is EVERY-diet friendly! So whether you have put yourself in the Paleo box, Vegan category, High-carb-low-fat, Low-carb, Gluten-free, 80/10/10, intermittent fasting, carb-cycling… I purposefully made this a compilation of nutritious options that can be enjoyed by the majority of dietary lifestyles out there!

And, I know most people don’t have the time or interest to become the next Iron Chef in the kitchen… especially with the hustle and bustle of every day life. That’s why I made sure the recipes and tips in this book aren’t incredibly elaborate or time consuming. These are some simple basics to help anyone successfully achieve their goals without spending hours preparing and while getting in nutrient-dense foods that taste flipping amazing.

Can you tell how mega excited I am to be putting this together for you guys?! :)

Make sure to sign up for the newsletter and like the True Health Trifecta Facebook page for word on when it is available for sale in the shop! :)